
My printing process.
an engraving from hotplate to drying rack.

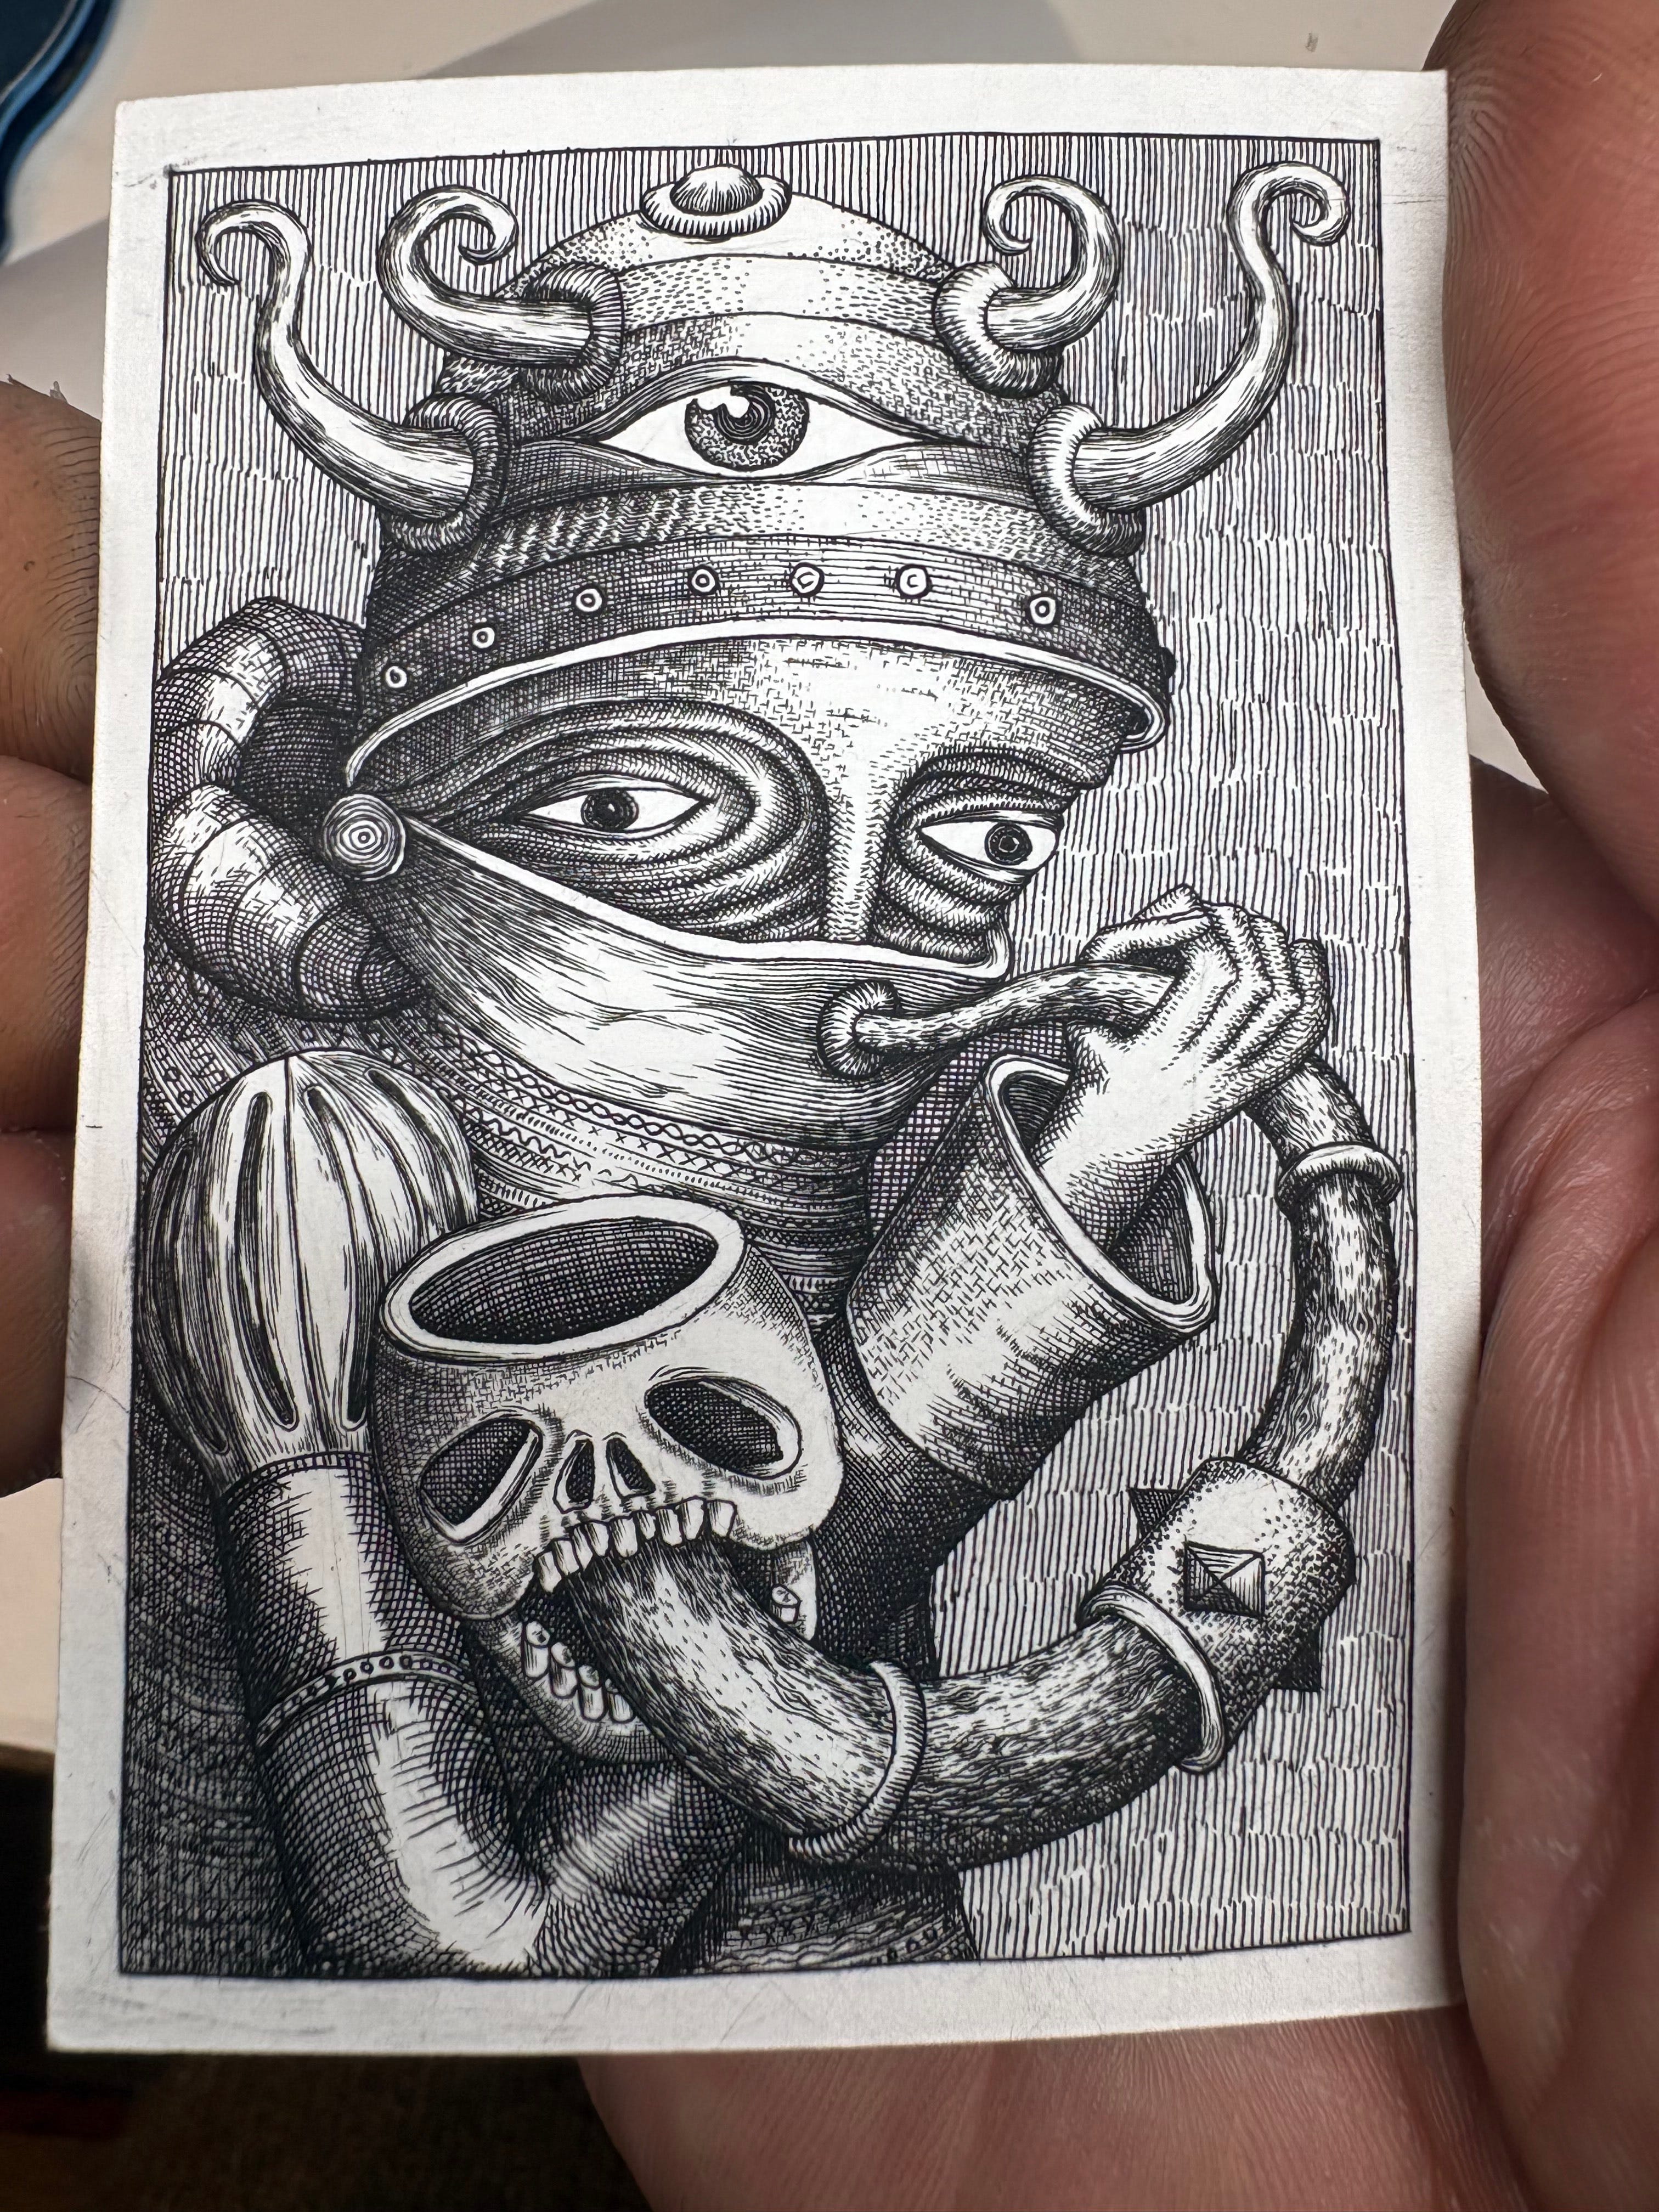
Finished print 6cm x 8cm
Most of this post is for the long form nerds, so anyone with tick tock levels of attention span feel free to just look at the pictures. please do ask specific questions about things i cover. I tend to have a very specific way of printing thats developed in tandem with my engraving over the years. I’m always interested in other peoples techniques.
I’m finally caught up after the downtime of the holidays. This has involved doing a miniature engraving just to get myself ready to work on the durer plate again. As i’ve said before even a gap of a few weeks from engraving and i feel like a complete novice. So last week i went full speed into a new 7cm miniature. I’ve posted that one over on my instagram if you want to see it. I’m still feeling my way on how to post online but i’m trying to keep the content different. Instagram i’ll be keeping as a timeline of current work so i’ll never be reposting or dredging things up from the past. This place is the opposite, more about work in progress, future, past, technique and occasional existential crisis.
Today i’m working on the durer engraving again but i’ve decided to just do a few hours on and off until i feel comfy working under the crushing anxiety it. Once i’m up and running again after a few days i’ll stop hyper focusing on how easy it would be to slip up and destroy two years of engraving, but for now i’m just going to steadily engrave a few fronds of grass and rocks in the background until i’m in a happy place again.
So on days like this i tend to fire up my hotplate and print a rack or two of miniatures. I feel it helps psychologically too, seeing the drying racks fill up with work. So much of this work i do feels glacially slow, so introducing the occasional hour or two of printing feels like some sort of forward momentum.
First off i’ll check my engraving under a microscope to look for any scratches that need fixing before i ink up. Often when engravings are printed they pick up scratches from the wiping process. I tend to be extra vigilant when engravings are new as the crosshatching often takes a while to steady out. Little bits tend to break off in the tar like ink and starchy cloths i use to wipe the plate. I’ll use an agate burnisher to slowly press the soft metal back together and fill in the scratch. I don’t tend to do any major repairs, its more like keeping on top of any day to day hair like scratches on open areas to make sure its printing clean. Keeping an eye on the scratches before i print is important here because i can tell if a scratch was caused by wiping with the cloth or applying the ink. If i see scratches in a curved circular motion it means the scratch was caused while wiping. If its a fairly straight scratch it means it was done while i applied the ink. I can change variables for each image depending on how it behaves. Its good to have this time to really dial in how its inked and wiped as it changes a lot depending on the image.
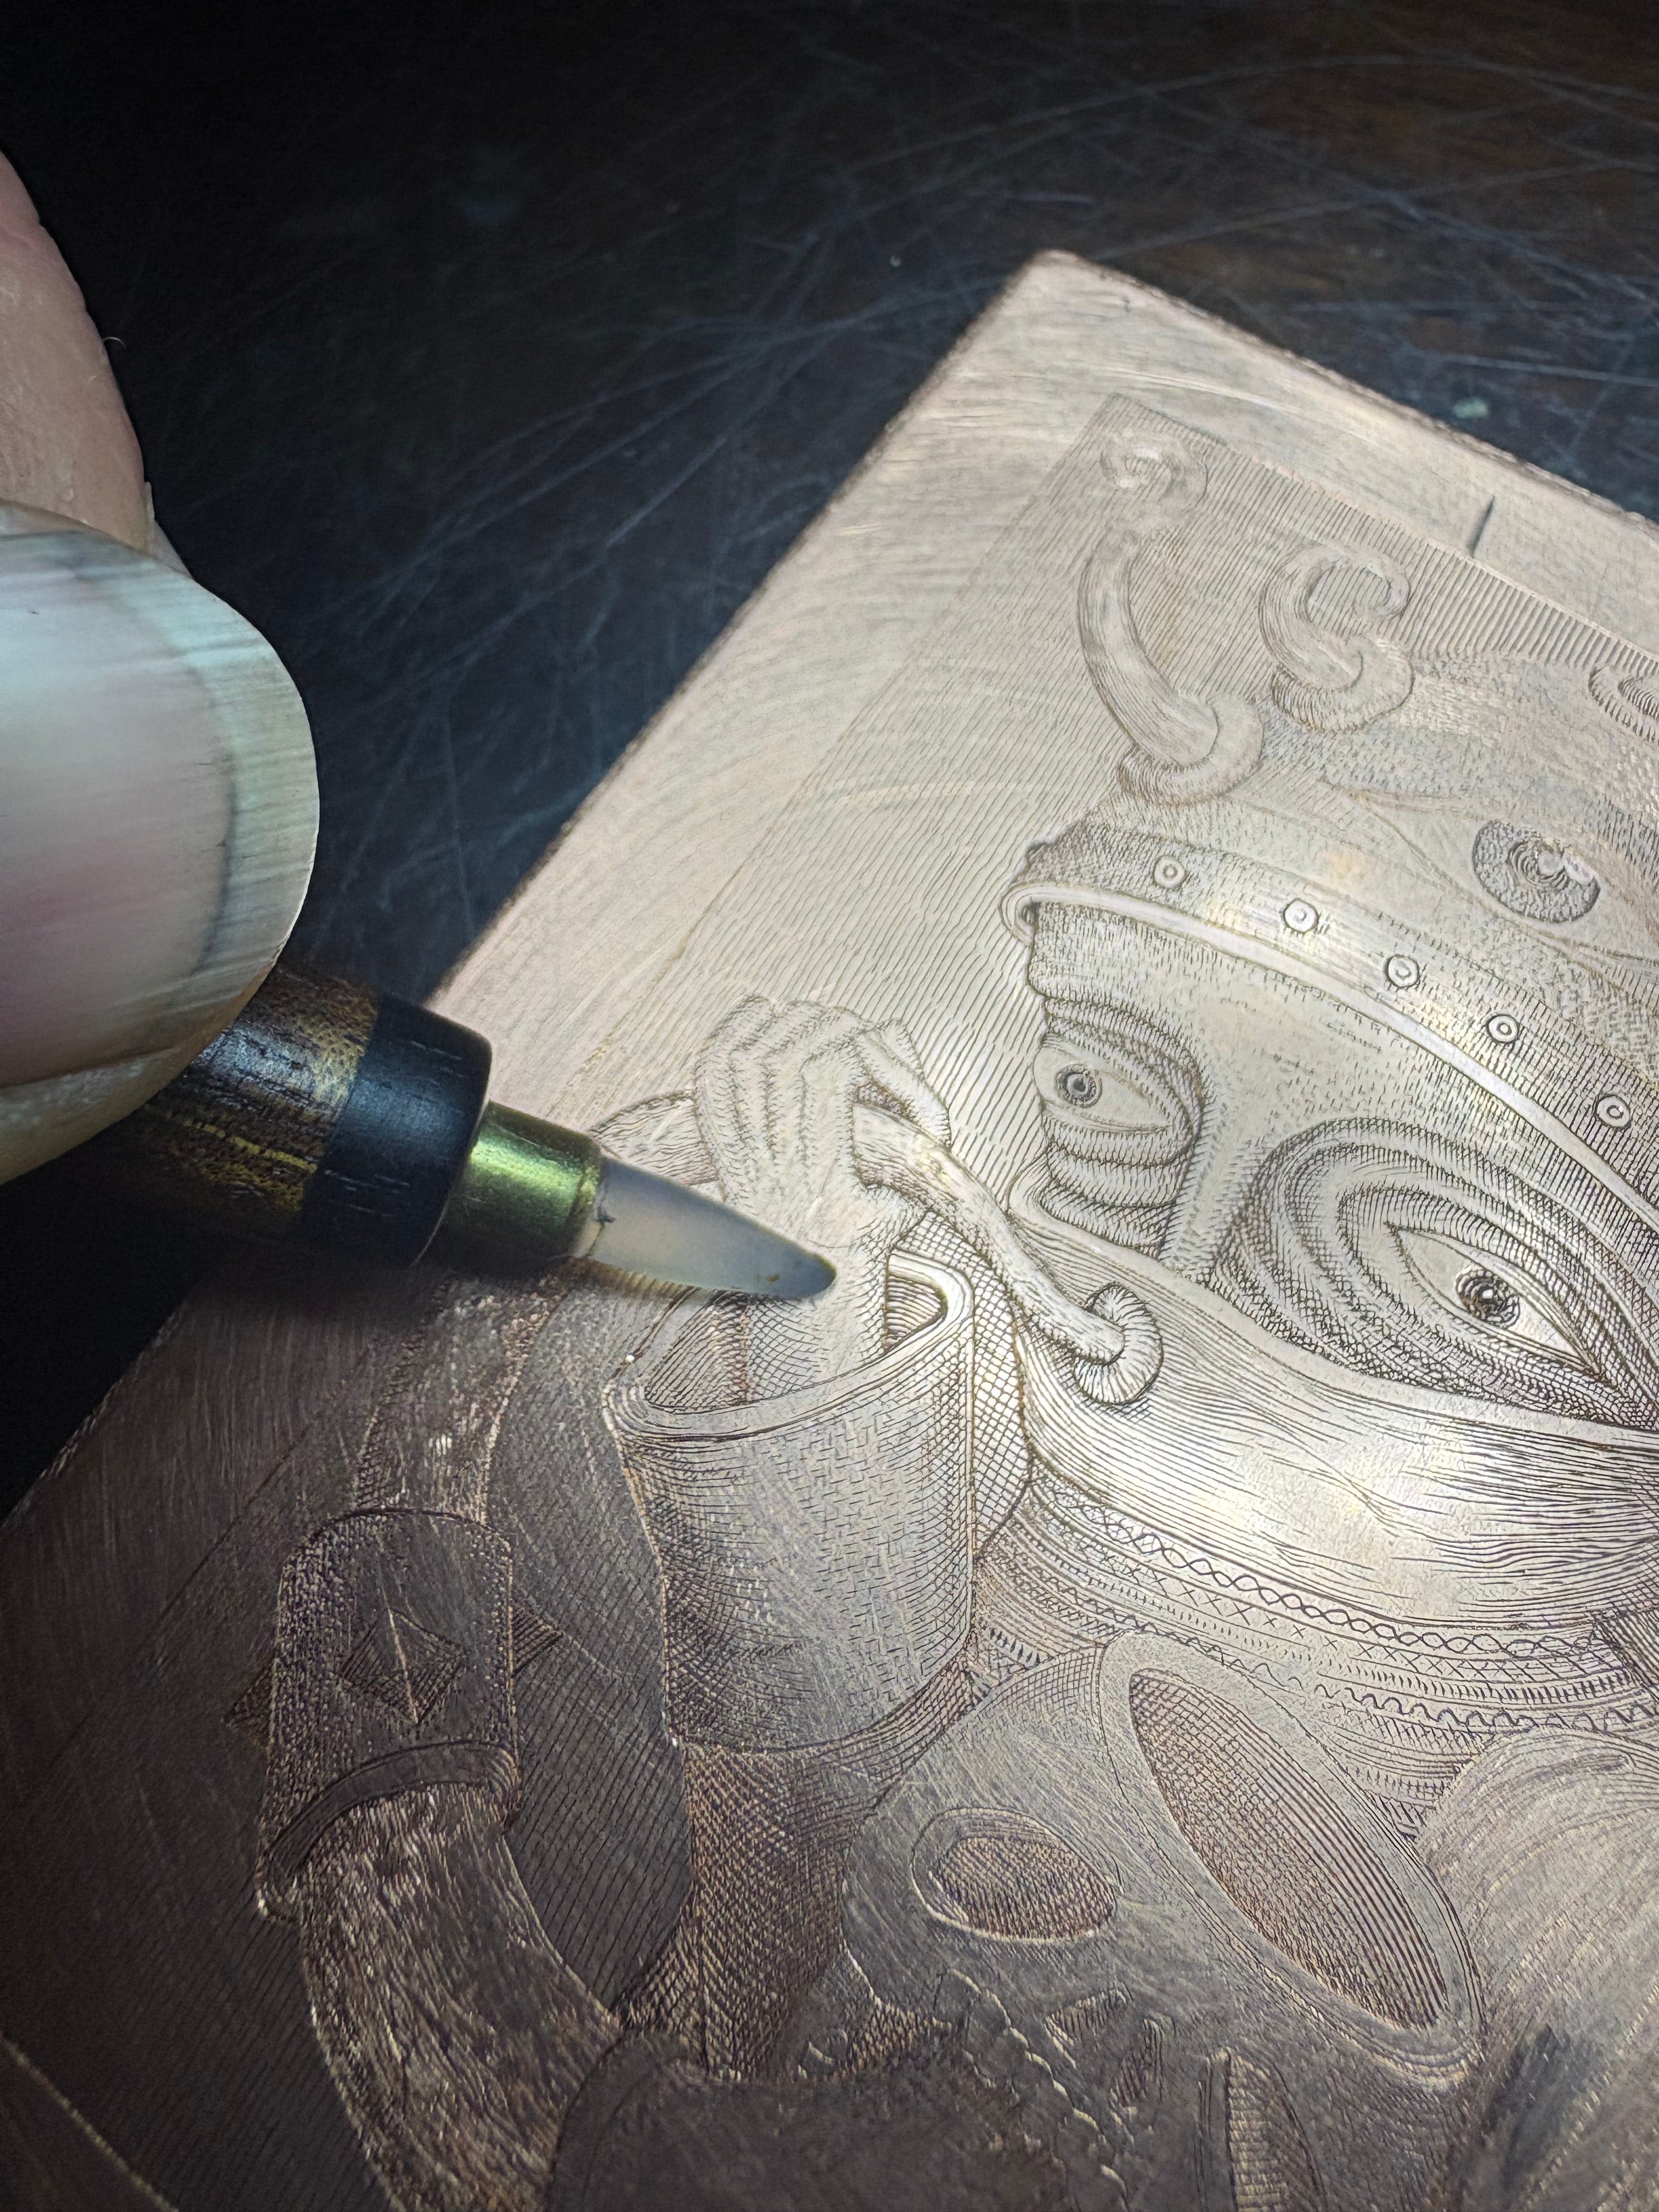
Agate burnisher. Correcting small scratches.
I switch on my hotplate as it takes about half an hour to get warmed up. I also fill a tray with water so i can soak my papers. I have a large draw of offcuts from all my past editions. These long strips are perfect to cut up and use for printing these miniatures. The paper is cotton based so it can absorb water without falling apart. The paper surface becomes soft and malleable. The extreme force of the press drives the paper into the tiny impressions engraved into the surface of the copper.
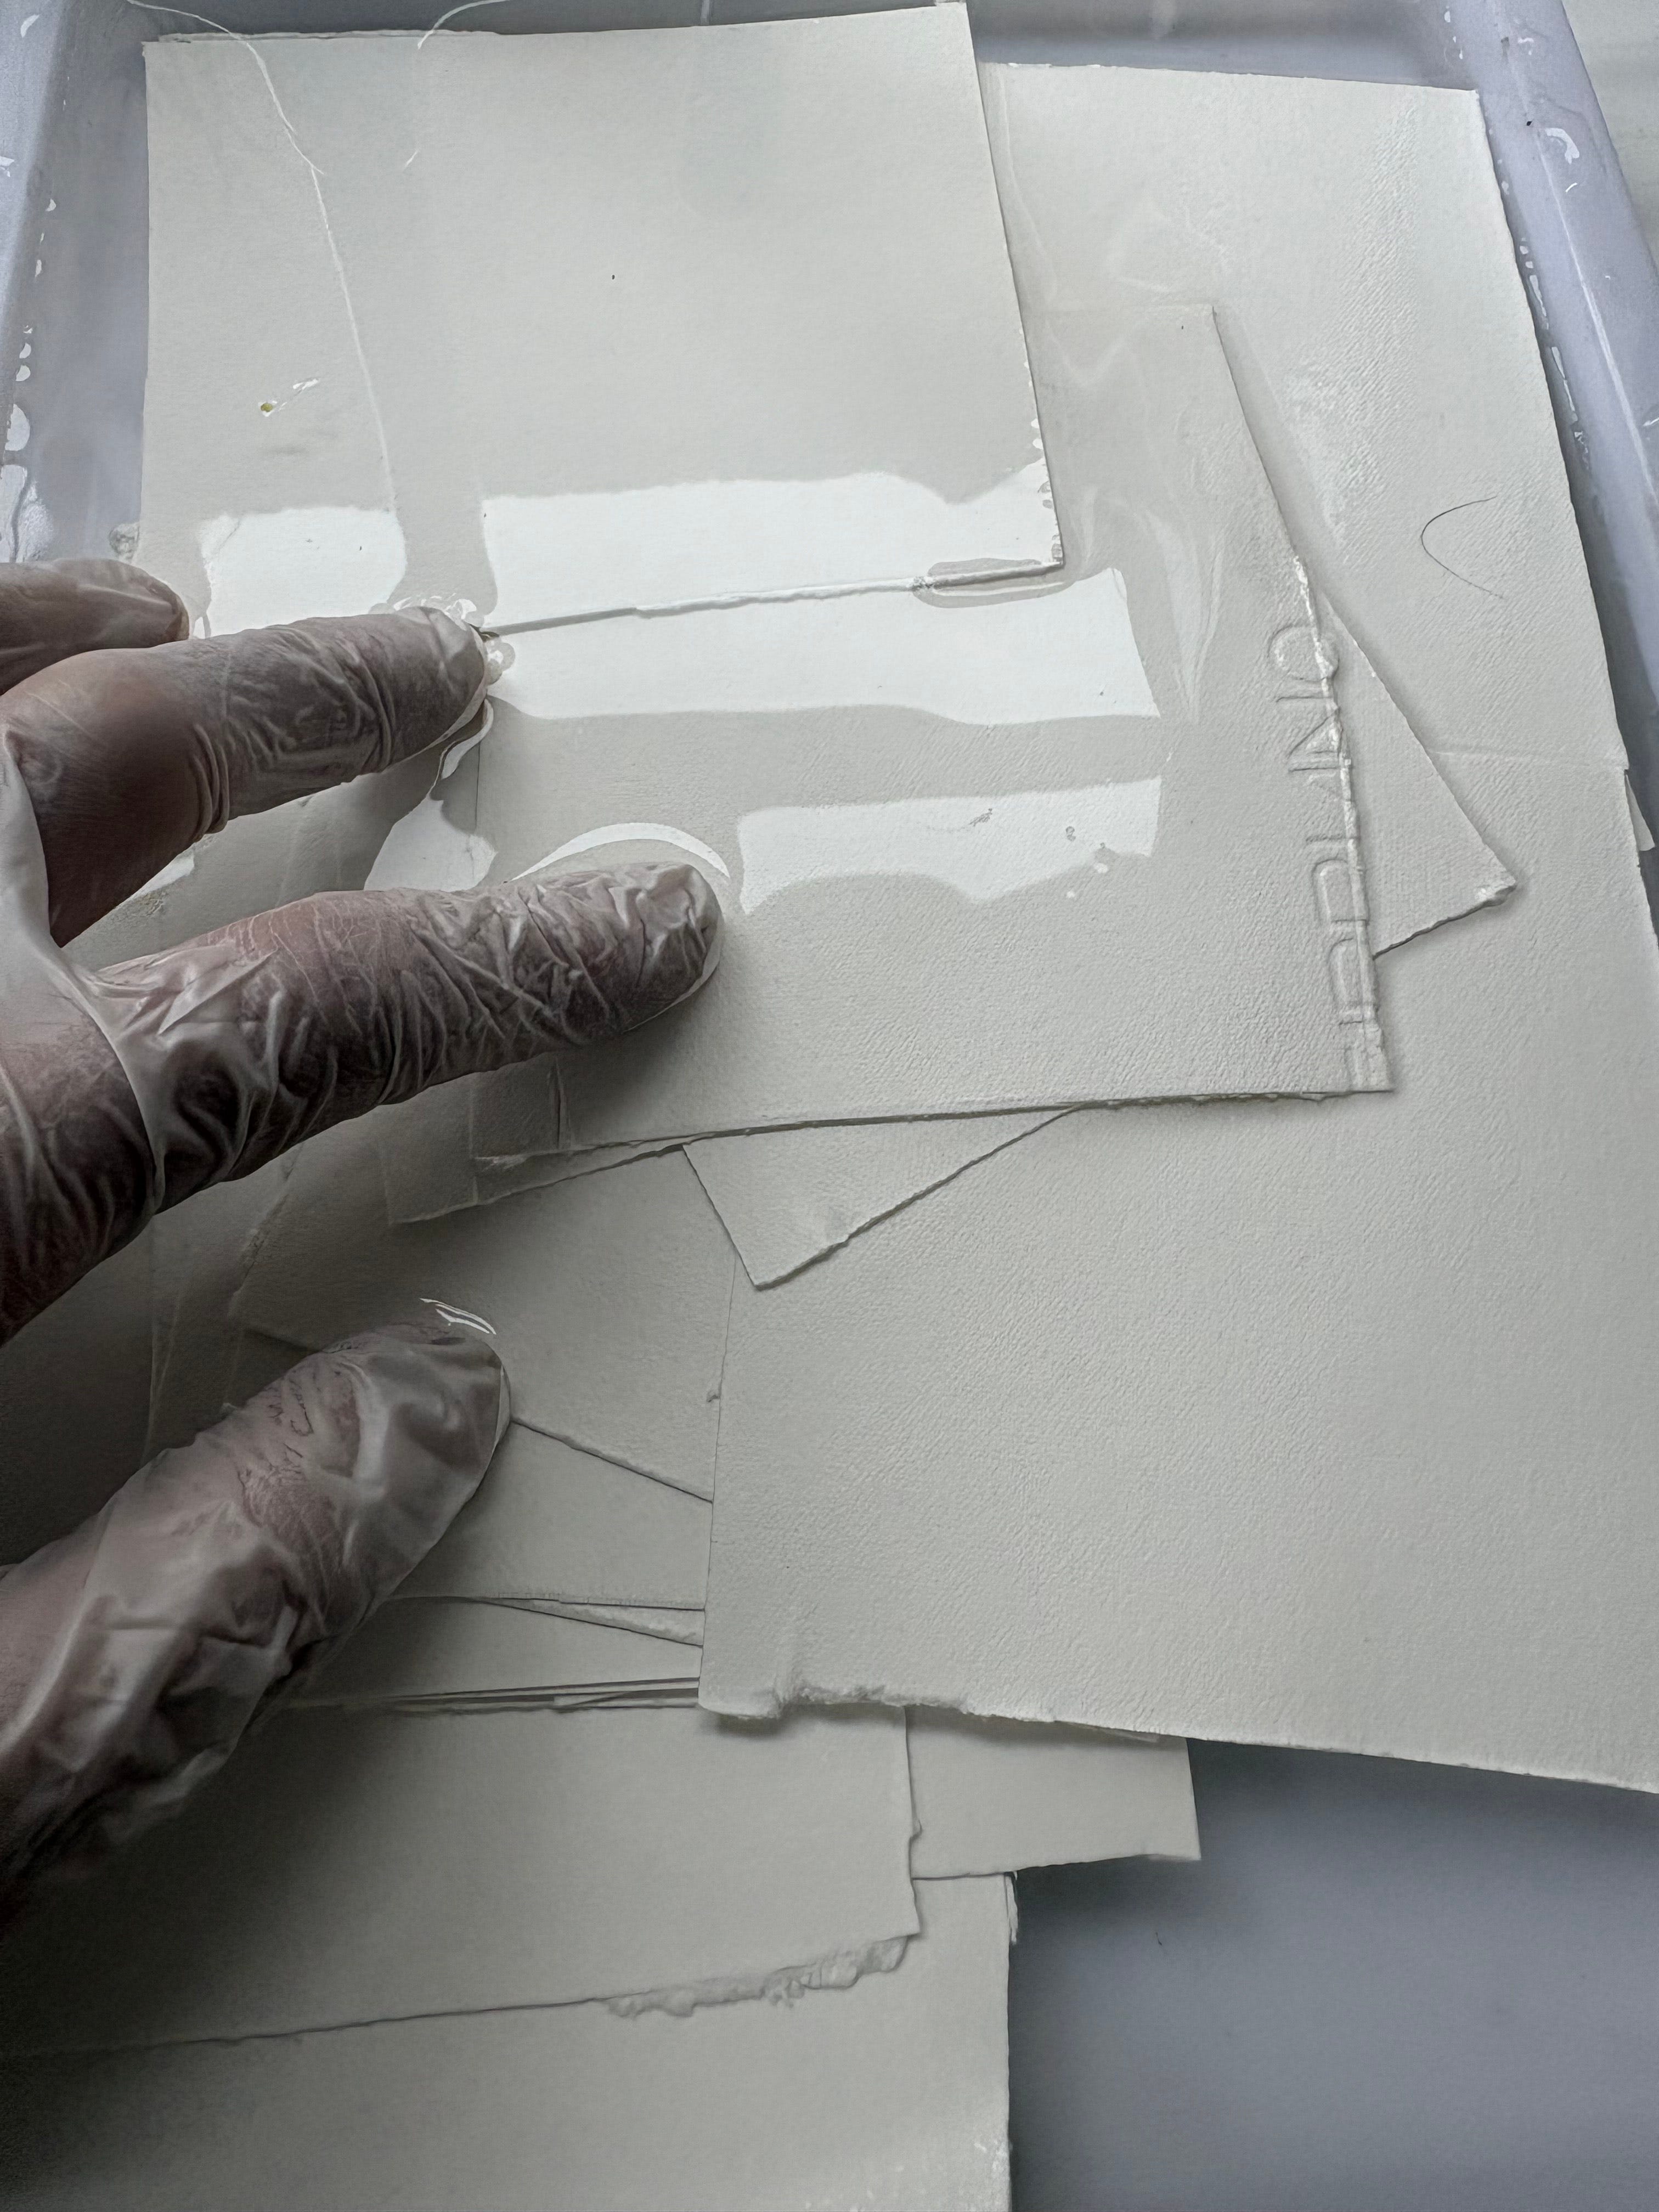
Soaking the paper to make it malleable for printing.
While the paper soaks for half an hour and the plate warms up i prep a bit of ink. Most images i tend to use a stiff black ink which i add a few drops of plate oil to. More oil makes it easier to wipe but also leaves more grey plate tone. If the image is graphic and bright i add no oil, if its atmospheric i’ll add more oil. I put a thick lump of the ink on the back of the hotplate to warm up. When its cold its almost as hard as butter from the fridge. I’ll also put the inky tarlatan wiping cloth on the plate to soften. Lastly i’ll wipe off the oil from the printing plate and pop it on the hotplate too.
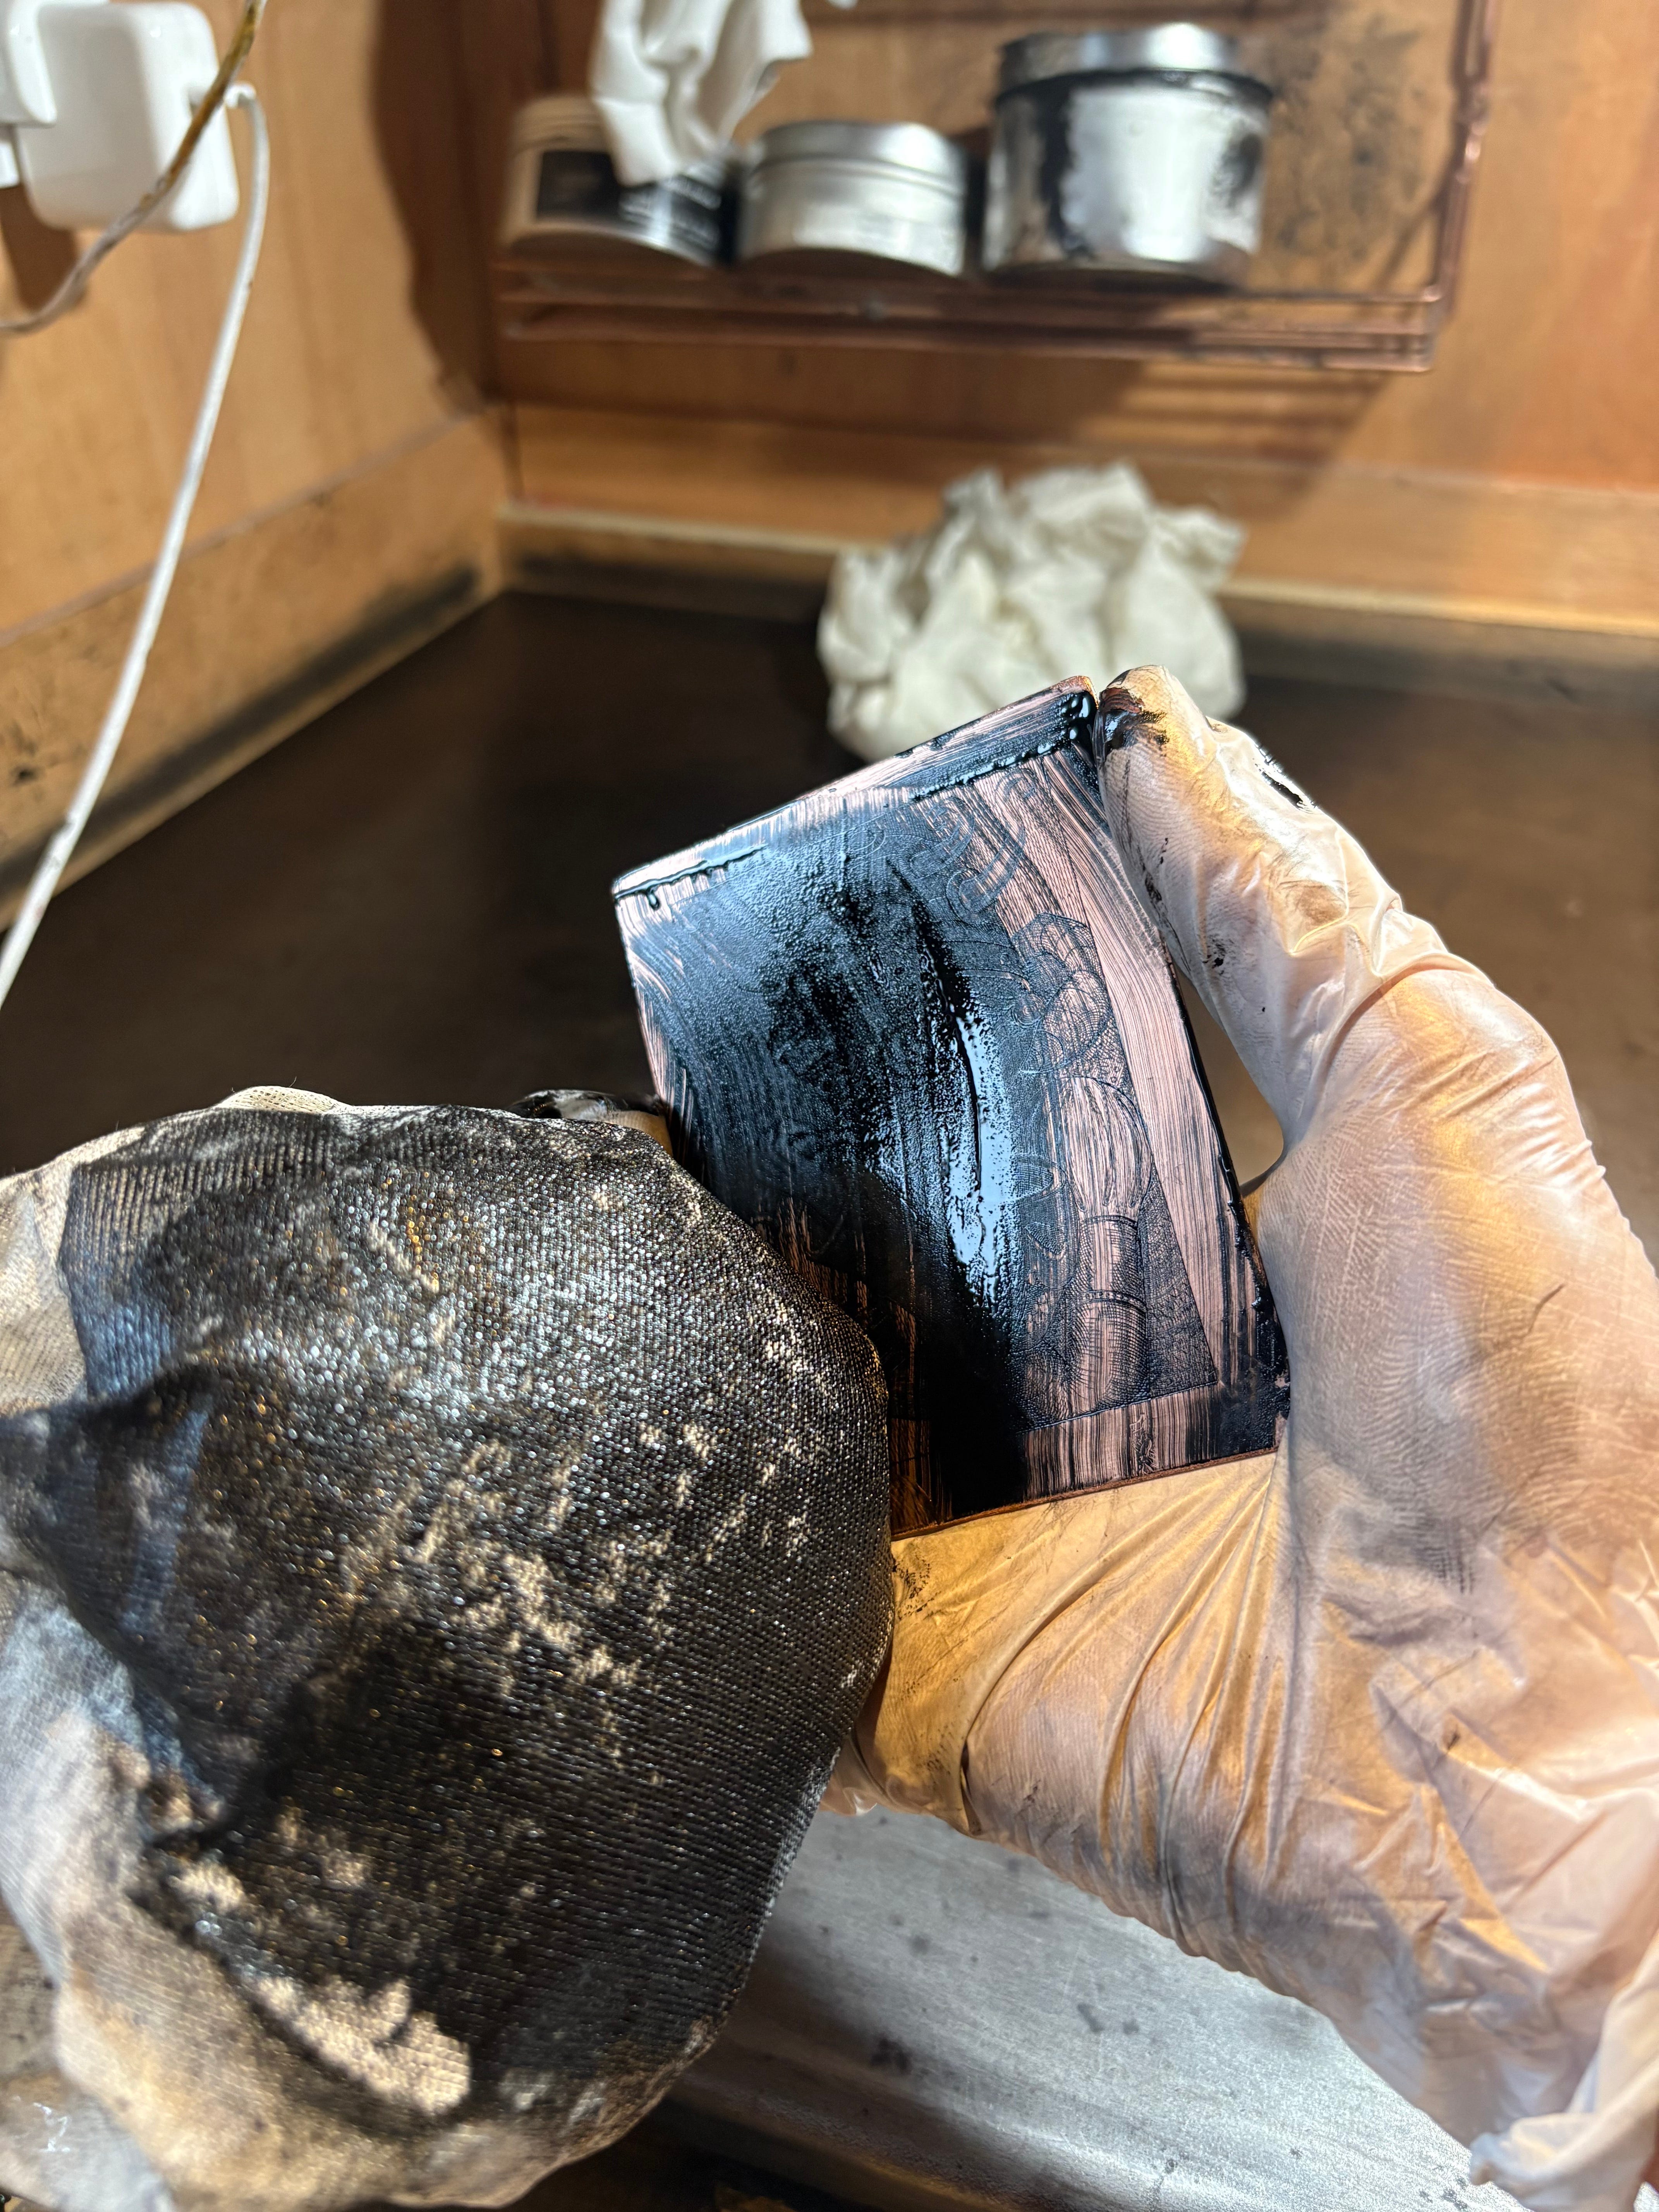
wiping off the heavy ink with first tarlatan.
This image has already printed 50 impressions so i know its printing well. When an image is new i tend to use tarlitan for one printing session before retiring it. Mostly because it cuts down on scratches from a freshly engraved matrix. When its had a few rounds on the hotplate i start to just use one much larger inky rag which i’ll keep until its like tar.
I apply the ink using a bit of tiff card. I’ll use the card to push the ink into the image and remove most of the extra ink. The first cloth i use is quite stiff with starch and already quite inky in places. I bunch it up so it forms a ball with no creases in it. This cloth is fairly non absorbent due to the starch so its job is to lightly push the ink into all the lines. I wipe in very gentle circles from the outside of the image to the centre, slowly turning the plate as i go. As the image clears on the plate i’ll rebundle the tarlatan to find a less inky patch and repeat the process until the plate looks fairly clean with no patches of ink.
I then switch to a second rag that’s fairly clean. I repeat the same motion again but with a very light touch. This rag is less starchy and more absorbent so i don’t want to pull out any detail from the plate. Now it looks ready but there’s an invisible grey plate tone i need to deal with. Each image is different so i change depending on what it needs. Larger prints with areas of clear plate i often use chalk on the side of my palm but for small prints like these i tend to use tracing paper or newsprint. Newsprint i find better for deep cut prints where you want very hard contrast. Delicate prints that can be overwiped easily i use a less absorbent tracing paper as it tend to push the plate tone into the detail rather than removing it.
The paper is removed from the bath and put between two absorbent cloths and rollered with a brayer just to remove the surface water. The wiped plate is set down image facing up on the metal bed of the press. The damp paper gently put over the image. The press has solid metal rollers protected by felt cloths. I like to just use two blankets on my press. The first thick felt blanket absorbs the pressure and distributes it evenly. The second felt blanket goes over the paper and is made of a much finer pressed felt. The two blankets are laid down over the print and paper and its ready to print.
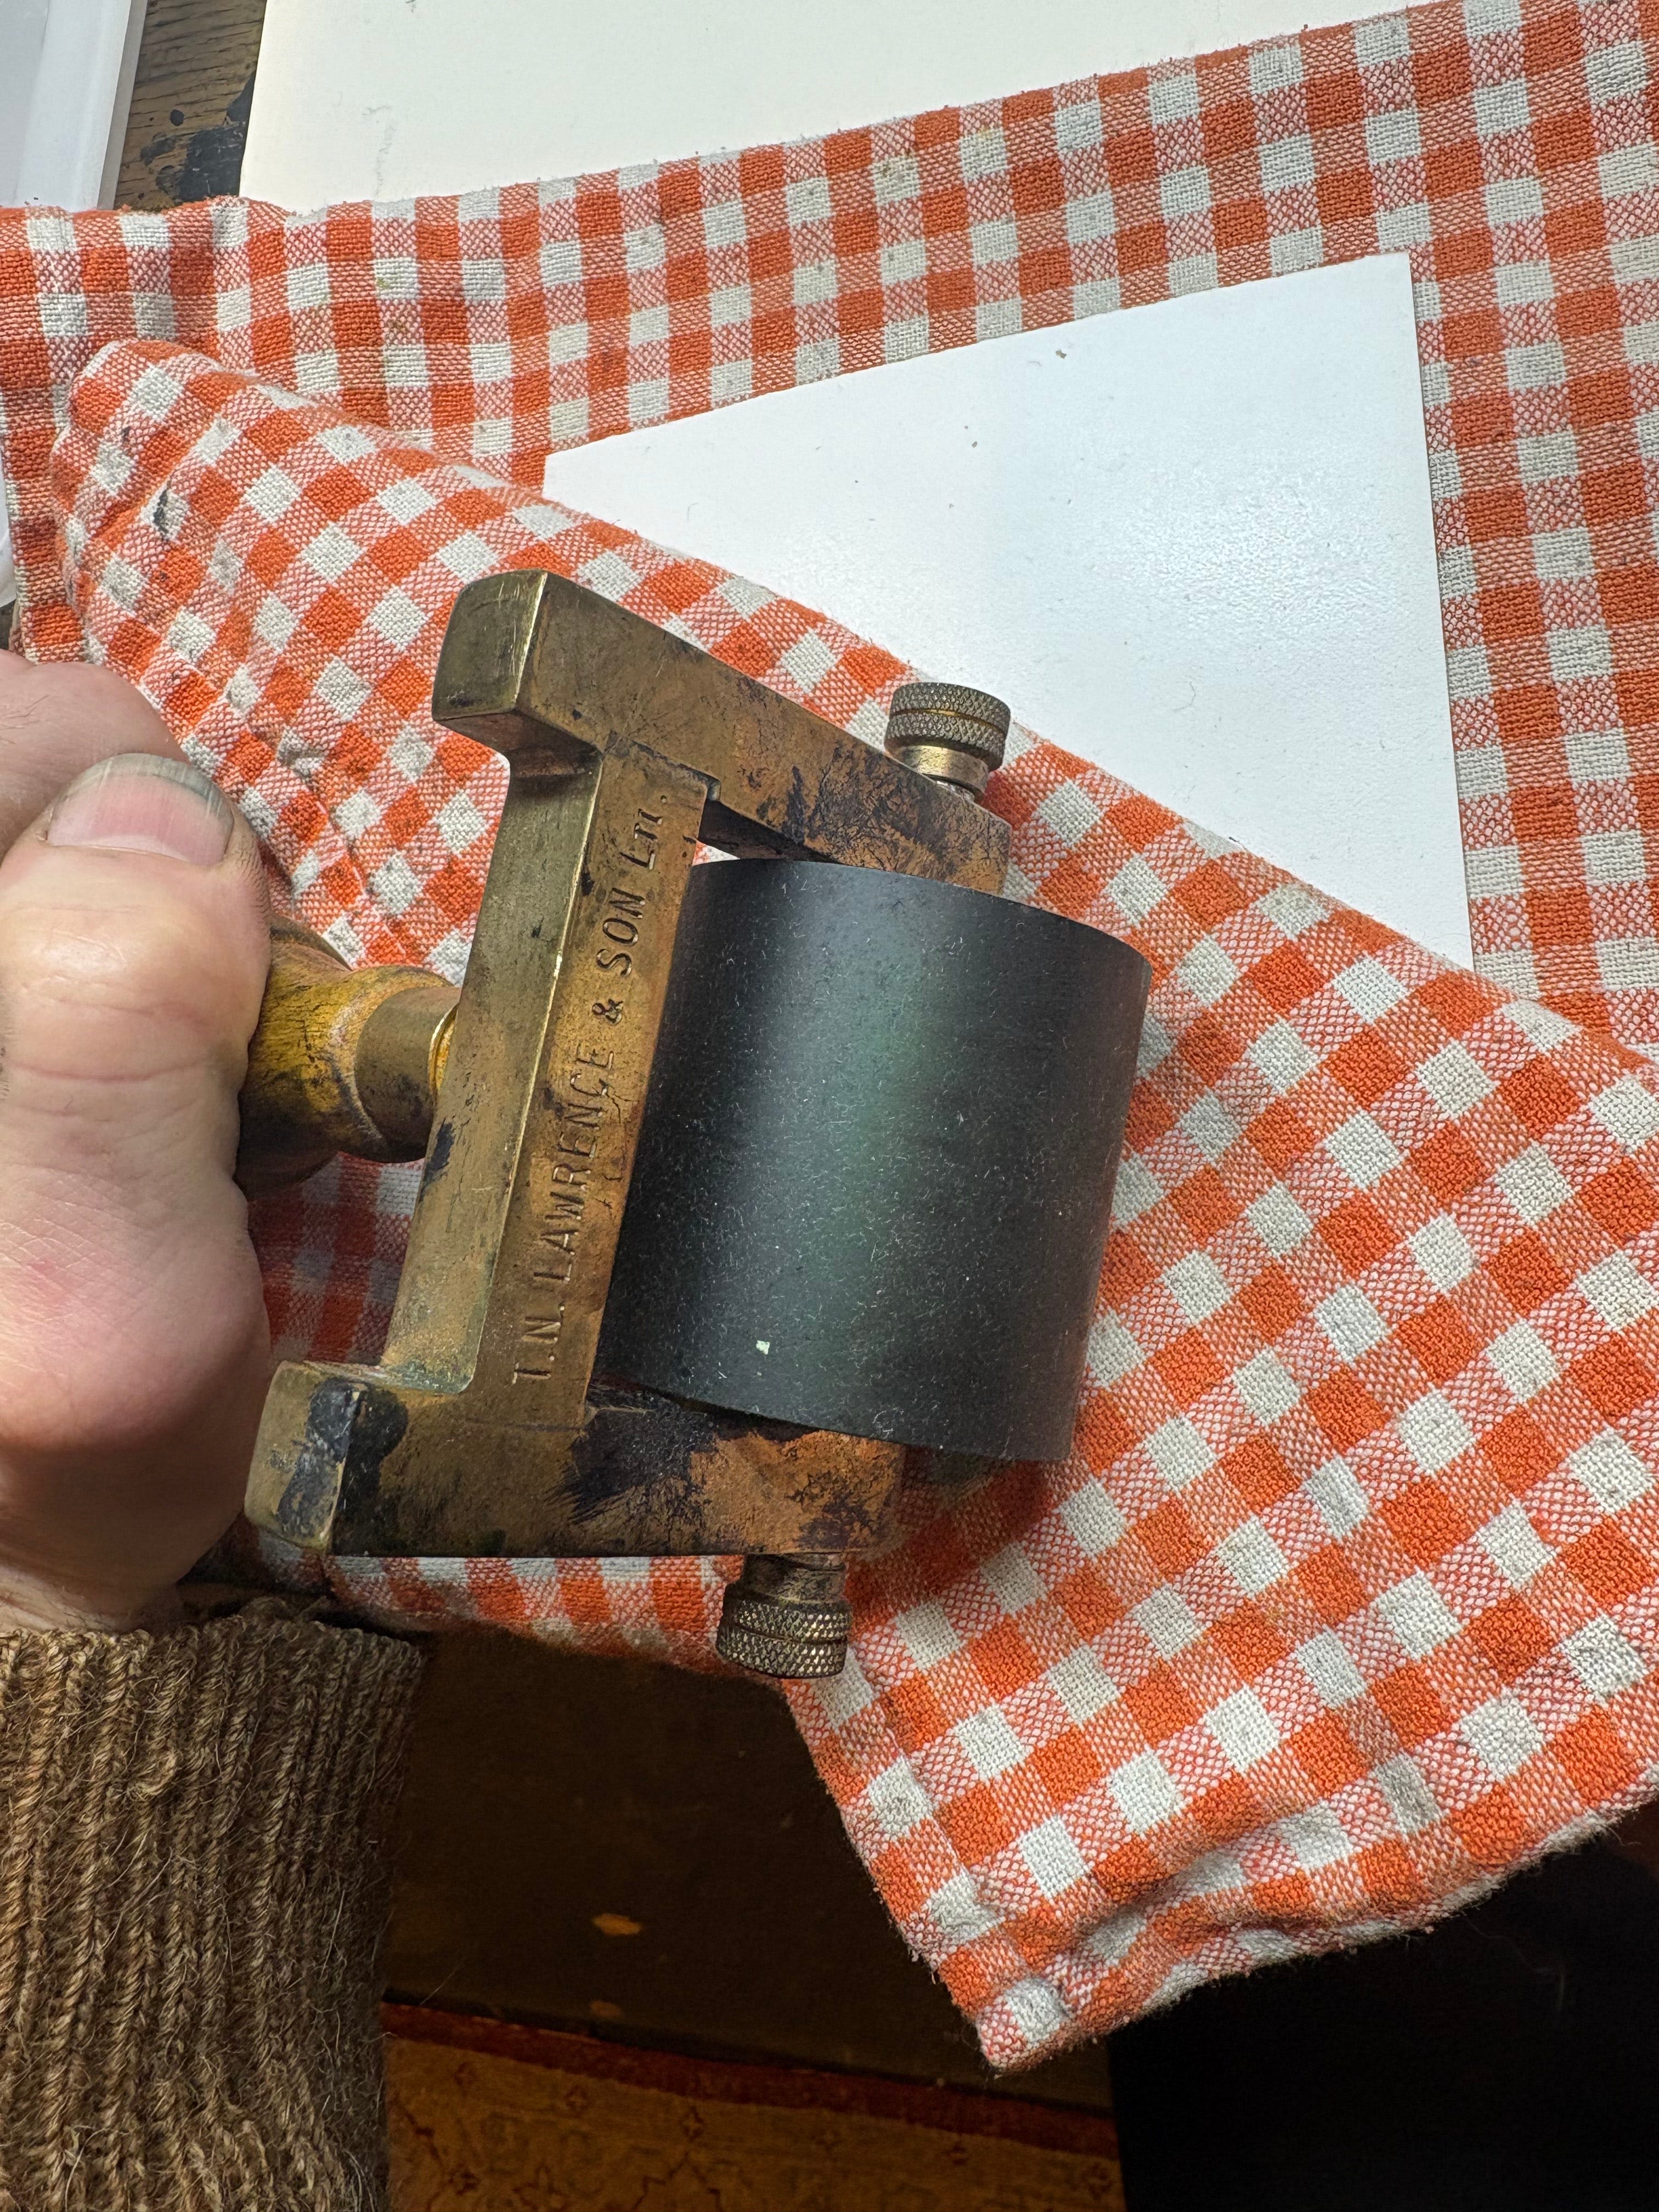
Removing the surface water from the paper with a rubber brayer.
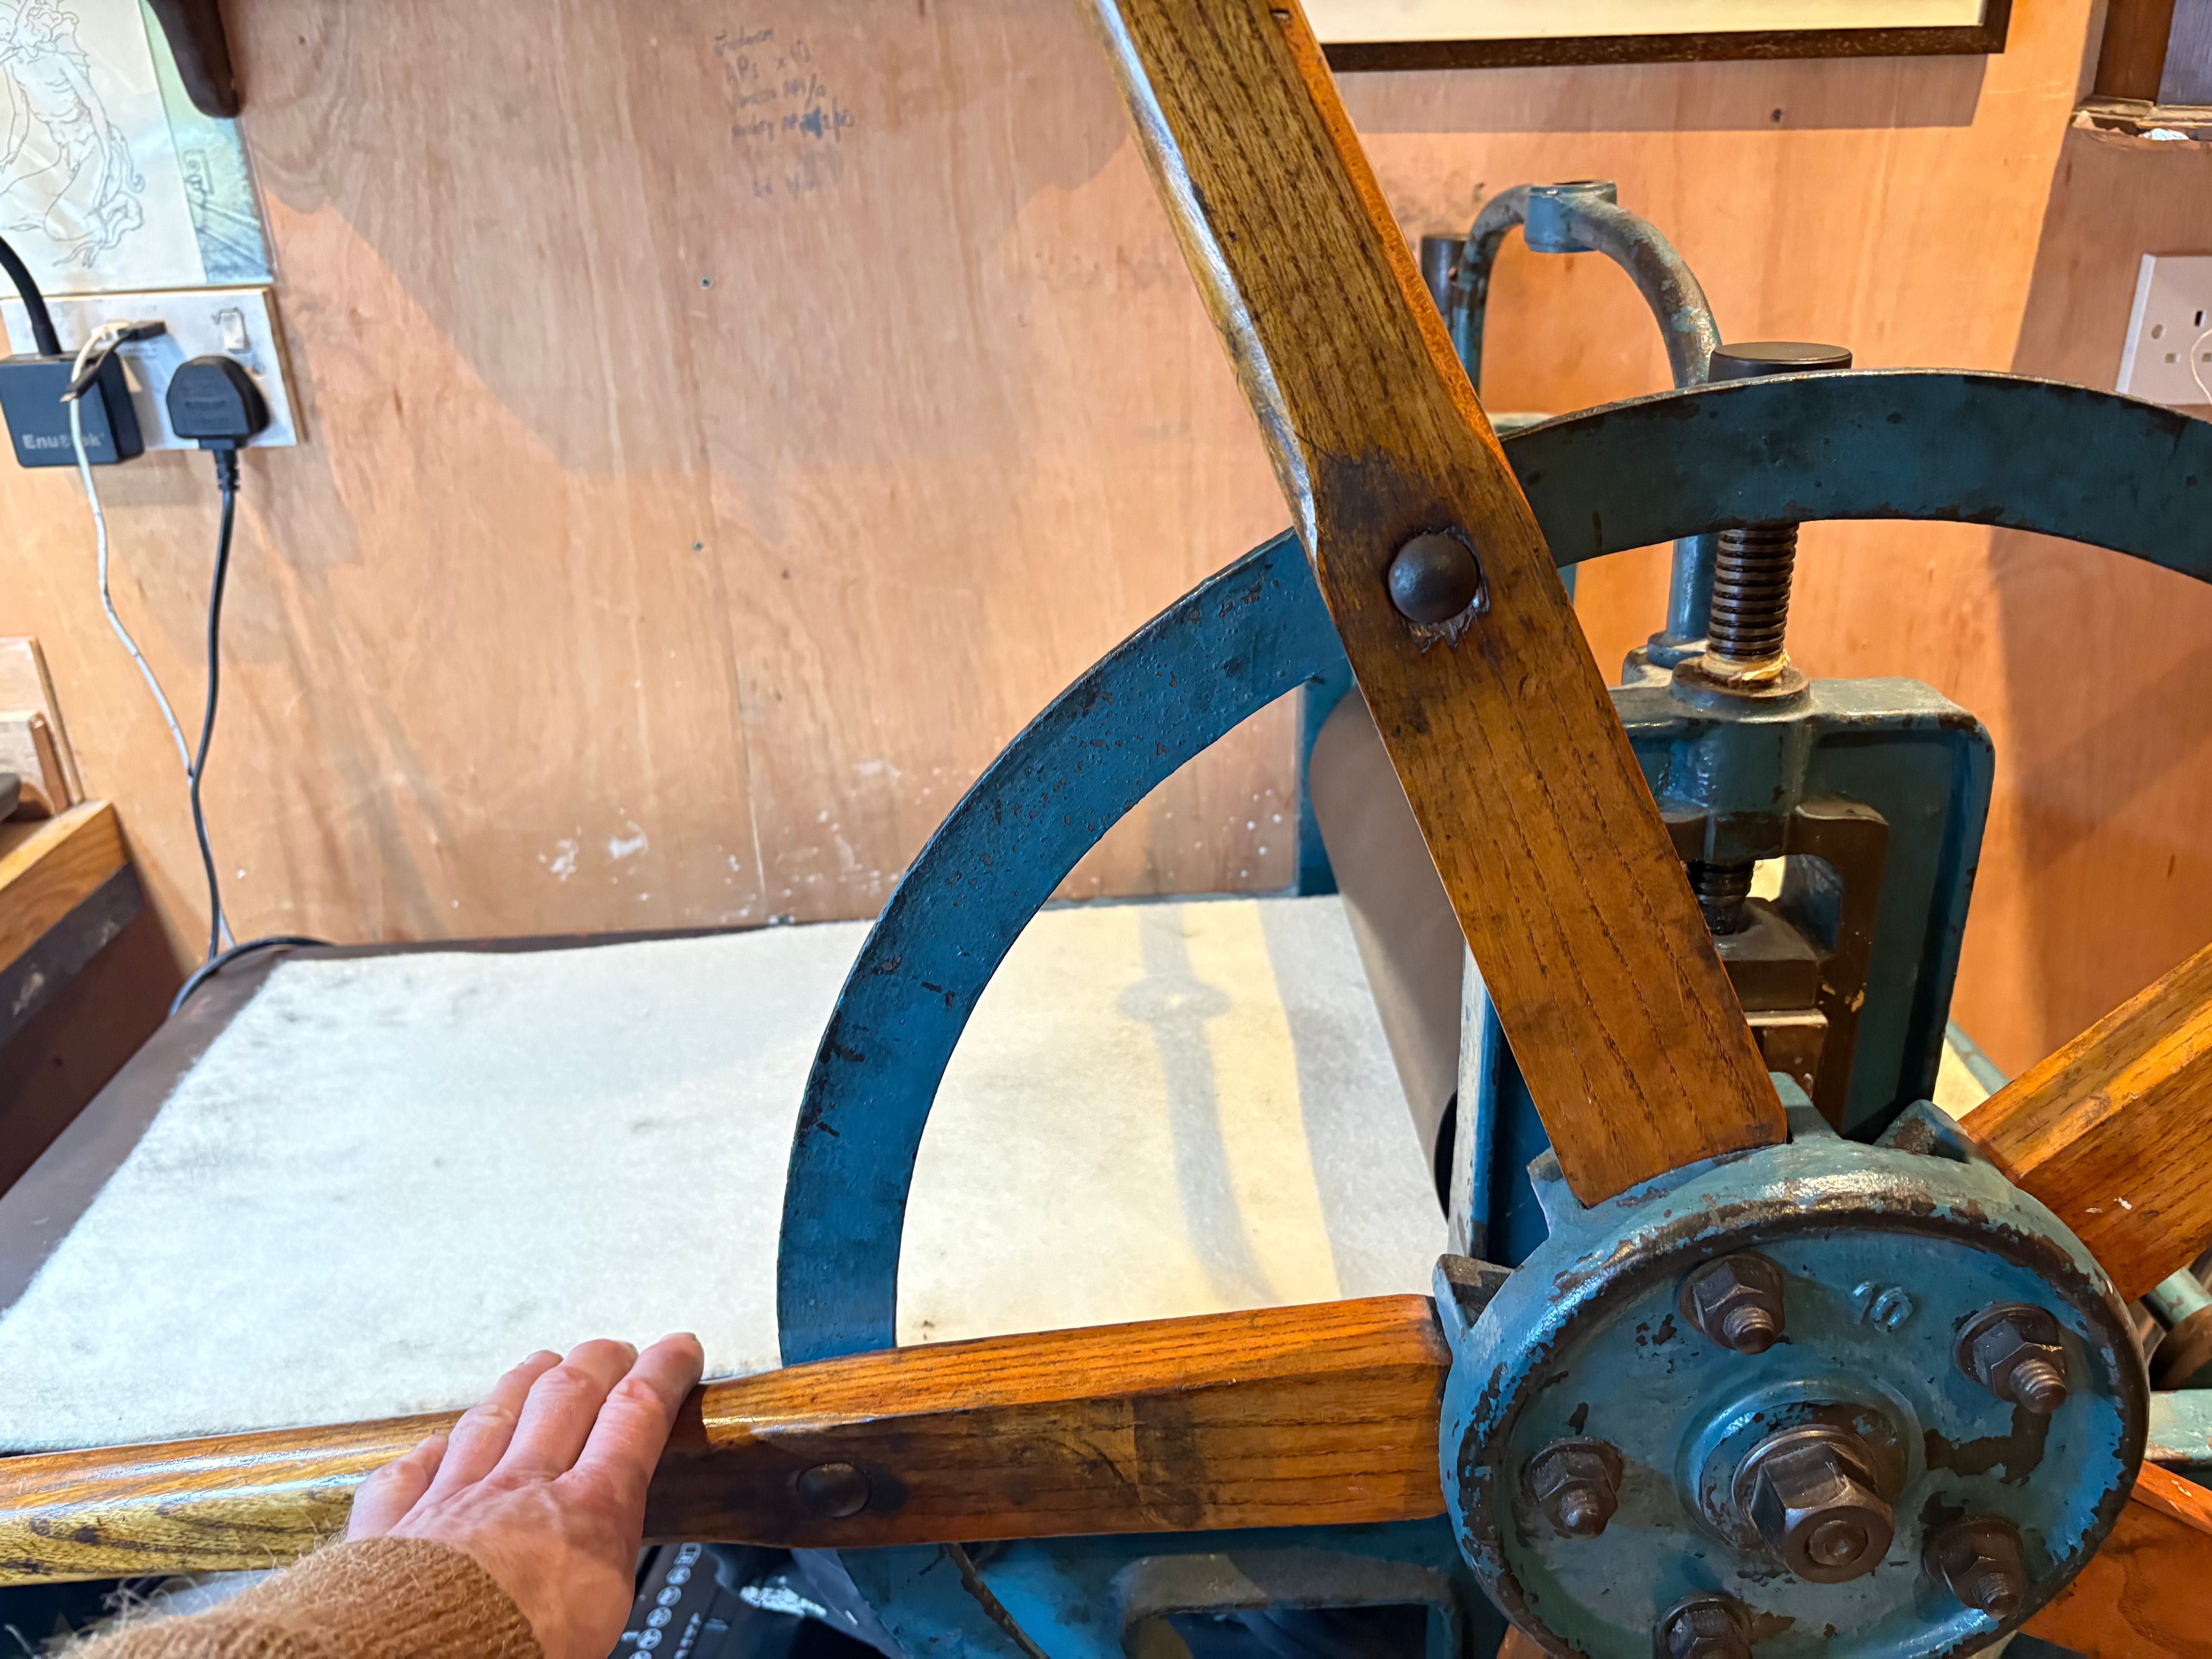
My press is from about 1820 so its not geared and its wildly heavy. I crank the ash handles around until its slowly passed through the rollers. Gently remove the blankets and peel the paper off. Pulling it off evenly is quite important for images with deep heavy lines and dense cross hatching as you can feel the paper moulded into the image. It feels more like removing a cast.
The prints tend to stay in overhead drying racks with marble stoppers for a week or so. Then i tend to transfer them to a flat pile with a weight on top so they finish drying flat. sometimes with tissue paper between each image if the heavy lines of ink feel slow to dry.
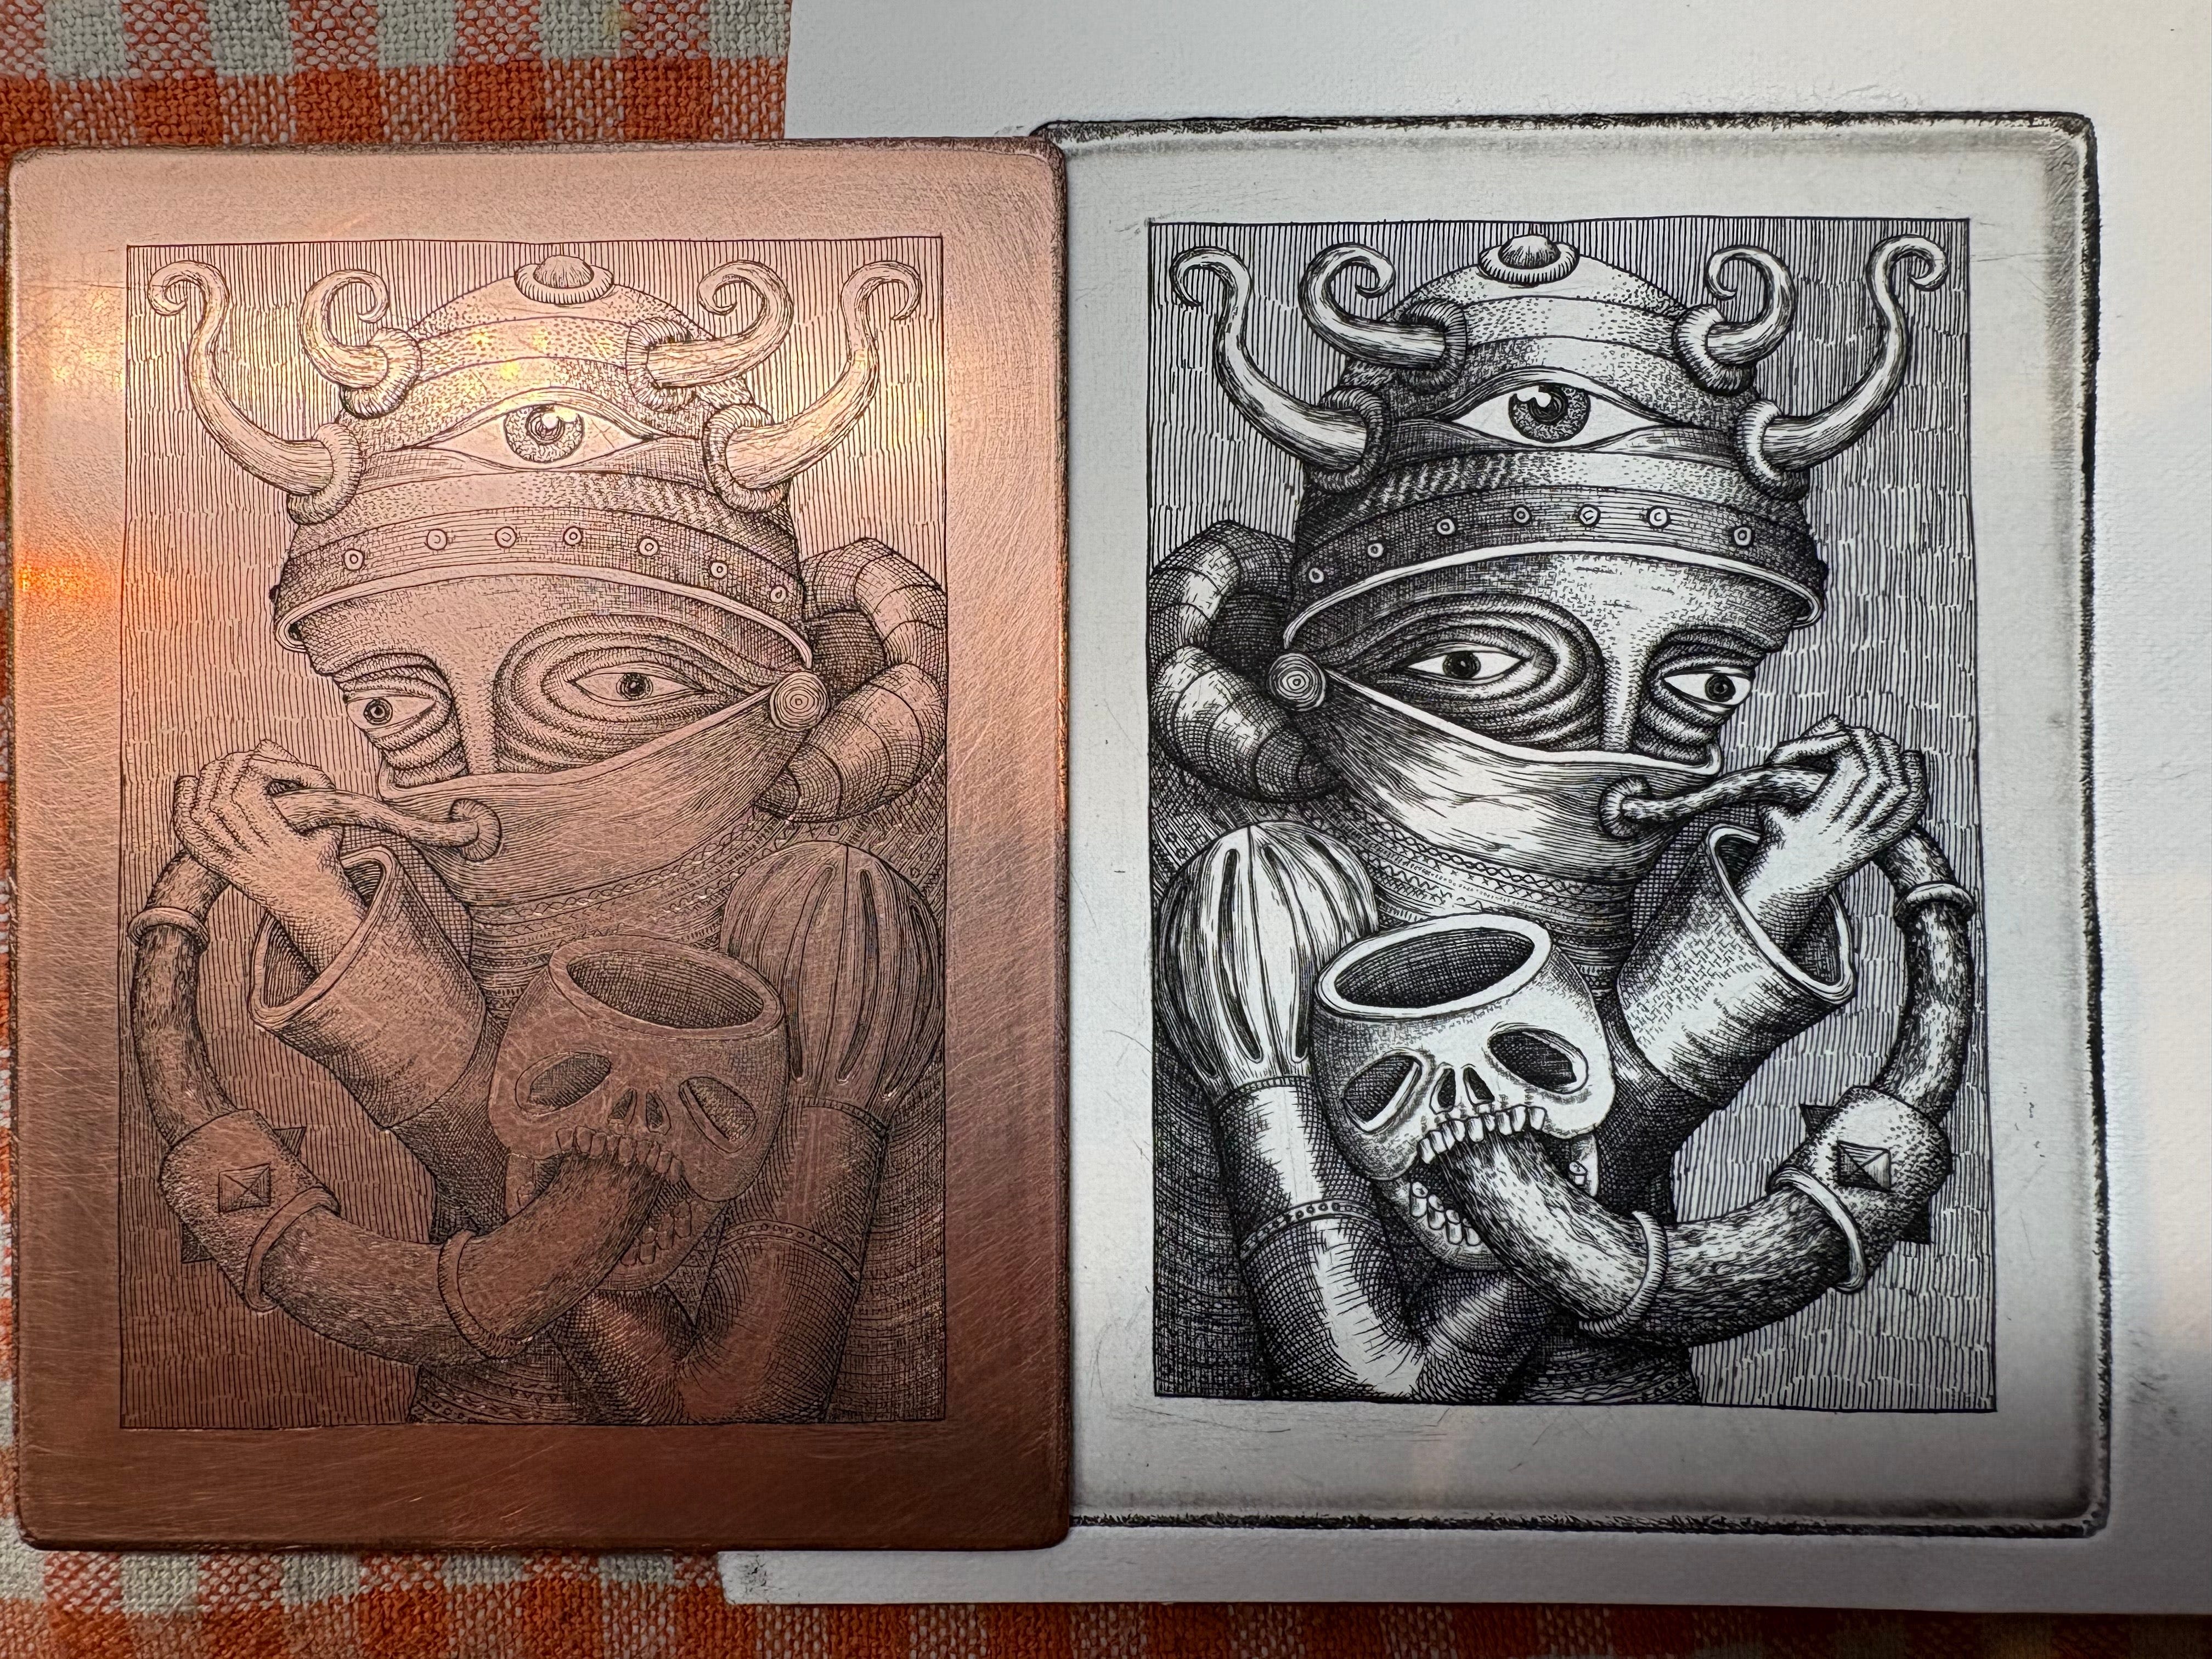
print and copper matrix.
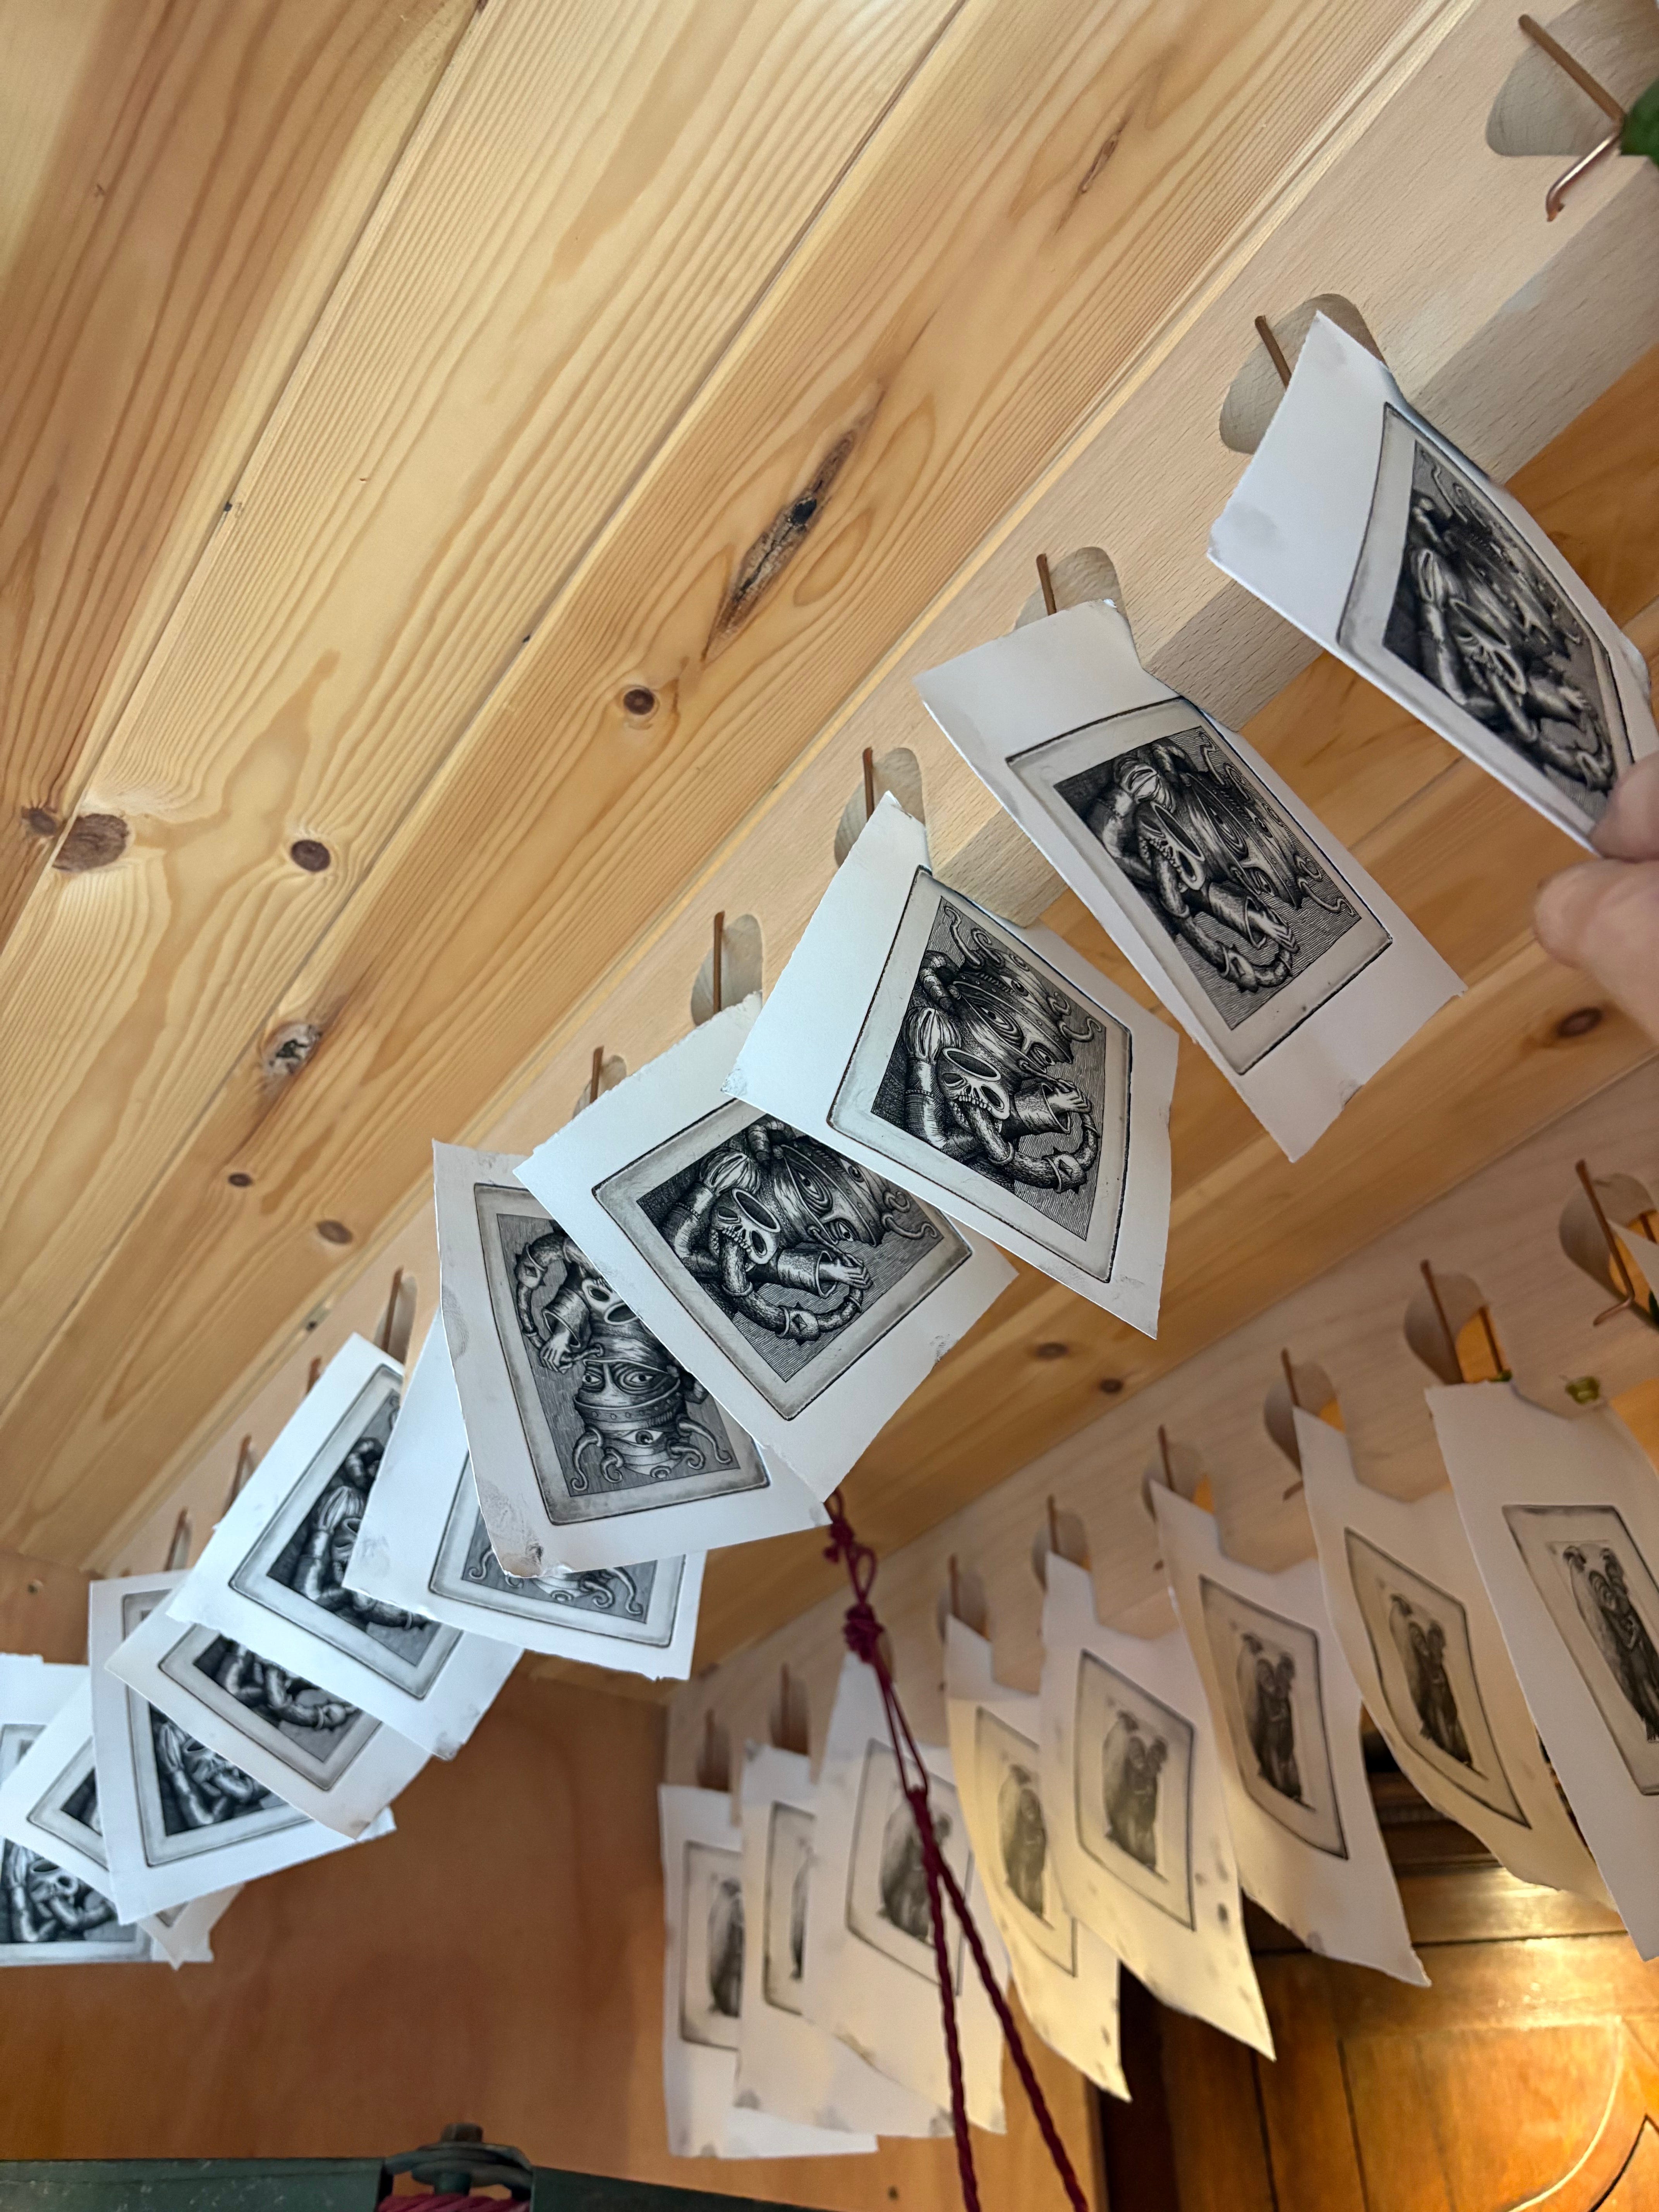
drying racks for the initial dry.
x phlegm x
So interesting and such a multi staged process I didn’t realise. It’s clearly taken time to refine. The results are superb though!! Thanks for sharing this. 😊
Great insights into the whole printing process...wonderfully mystical...thanks for sharing 😉🤗