
Editioning the rider.

I’m chomping at the bit with energy to paint outside at the moment…. i hoped it would be non stop painting at this point. Instead i’m having a mixed bag of work this week printing and working on sketches for upcoming walls. This weeks post is pretty much the same as last weeks but a little more in depth about my printing progress.
Sorry this miniatures release is a little late to fruition. I decided on a complex card with folding flaps to keep the prints secure. It also has foil gold lettering on the cover so it all taking a little while to get back from the printers. Should be well worth the wait.
The upside is that i’m stuck in a sort of limbo where i’m just printing more miniatures and starting the editioning of the rider plate. All things i need to do so it probably makes more sense to get a headstart on it all now. I know once i’m just in painting mode i’ll struggle to take time out.
Most mornings i warm up the hotplate and do an hour of miniatures until i feel my setup is running smoothly. Once i’ve filled a drying rack with miniatures and i’m in a good flow i set myself up with the rider plate. A typical day i’ll likely only print ten or twenty. It feels safer to print slowly and methodically with a plate as important as this one.
Its slowly starting to feel less stressful handling the plate. I’ve printed about sixty prints so far. I found a nice method for wiping that’s really reliable. I’m wiping with three tarlatan cloths and then a small sheet of tracing paper to clean the plate tone and make the white areas pop more. Because the image is light from the top and very dense black towards the bottom it’s quite intuitive to wipe. You wipe using small gentle circles with your wrist to move the ink in all directions. This encourages the ink into the lines without stripping it out. As i move through to the cleaner cloths i tend to wipe from the top down which helps push most of the ink towards the darker area of the picture.
After the three cloths i do a final wipe with a small piece of tracing paper that covers the pad of my hand. I use this to take the grey plate tone down a bit. I concentrate on the sky and the line of light down the main image. During the first proofs i found it was fairly easy to overwipe so i’ve opted for just taking the edge off the plate tone rather than trying to clean the image to paper white. It means that the sky around the plate edges has a bit of plate tone but the main image and most of the sky tends to be clean. It gives a little grey to the sky and the extra plate tone in the lower darker parts stay atmospheric and deep. I’m very consistent with the outcome too, with over sixty prints done with no dud prints and all looking crisp and uniform.
I find the first fifty prints to be a bit difficult. Mainly because all that fine cross hatching needs to stabilize. Bits break off in the thick ink and rags and can scratch the plate. For the initial prints i tend to not reuse rags and ink. I replace ink and rags often. Once i’ve had a few sessions of printing from the plate i start to relax a bit more and worry less about scratches. So far i’ve had two big scratches while printing but the last two sessions i’ve had none so i’m hoping i’m out of that initial phase and the matrix is steady.
When a scratch happens i have to clean the plate properly, throw the rags and change the ink. Then i have to look at the plate and asses the damage. Luckily these scratches tend to be more like a drypoint than an actual deep cut. I can usually just spend an hour with a very fine agate burnisher to flatten down the line so it won’t hold ink. If the line goes through cross hatching then you have to burnish extra carefully. Sometimes afterwards it helps to just go into a few lines with the burin to make sure i haven’t pressed into the original hatching. Luckily the two scratches early on didn’t do deep damage so cleaned up really fast just with a gentle surface glide with a wider burnisher. Thankfully nothing deep enough to have to get my burin out.
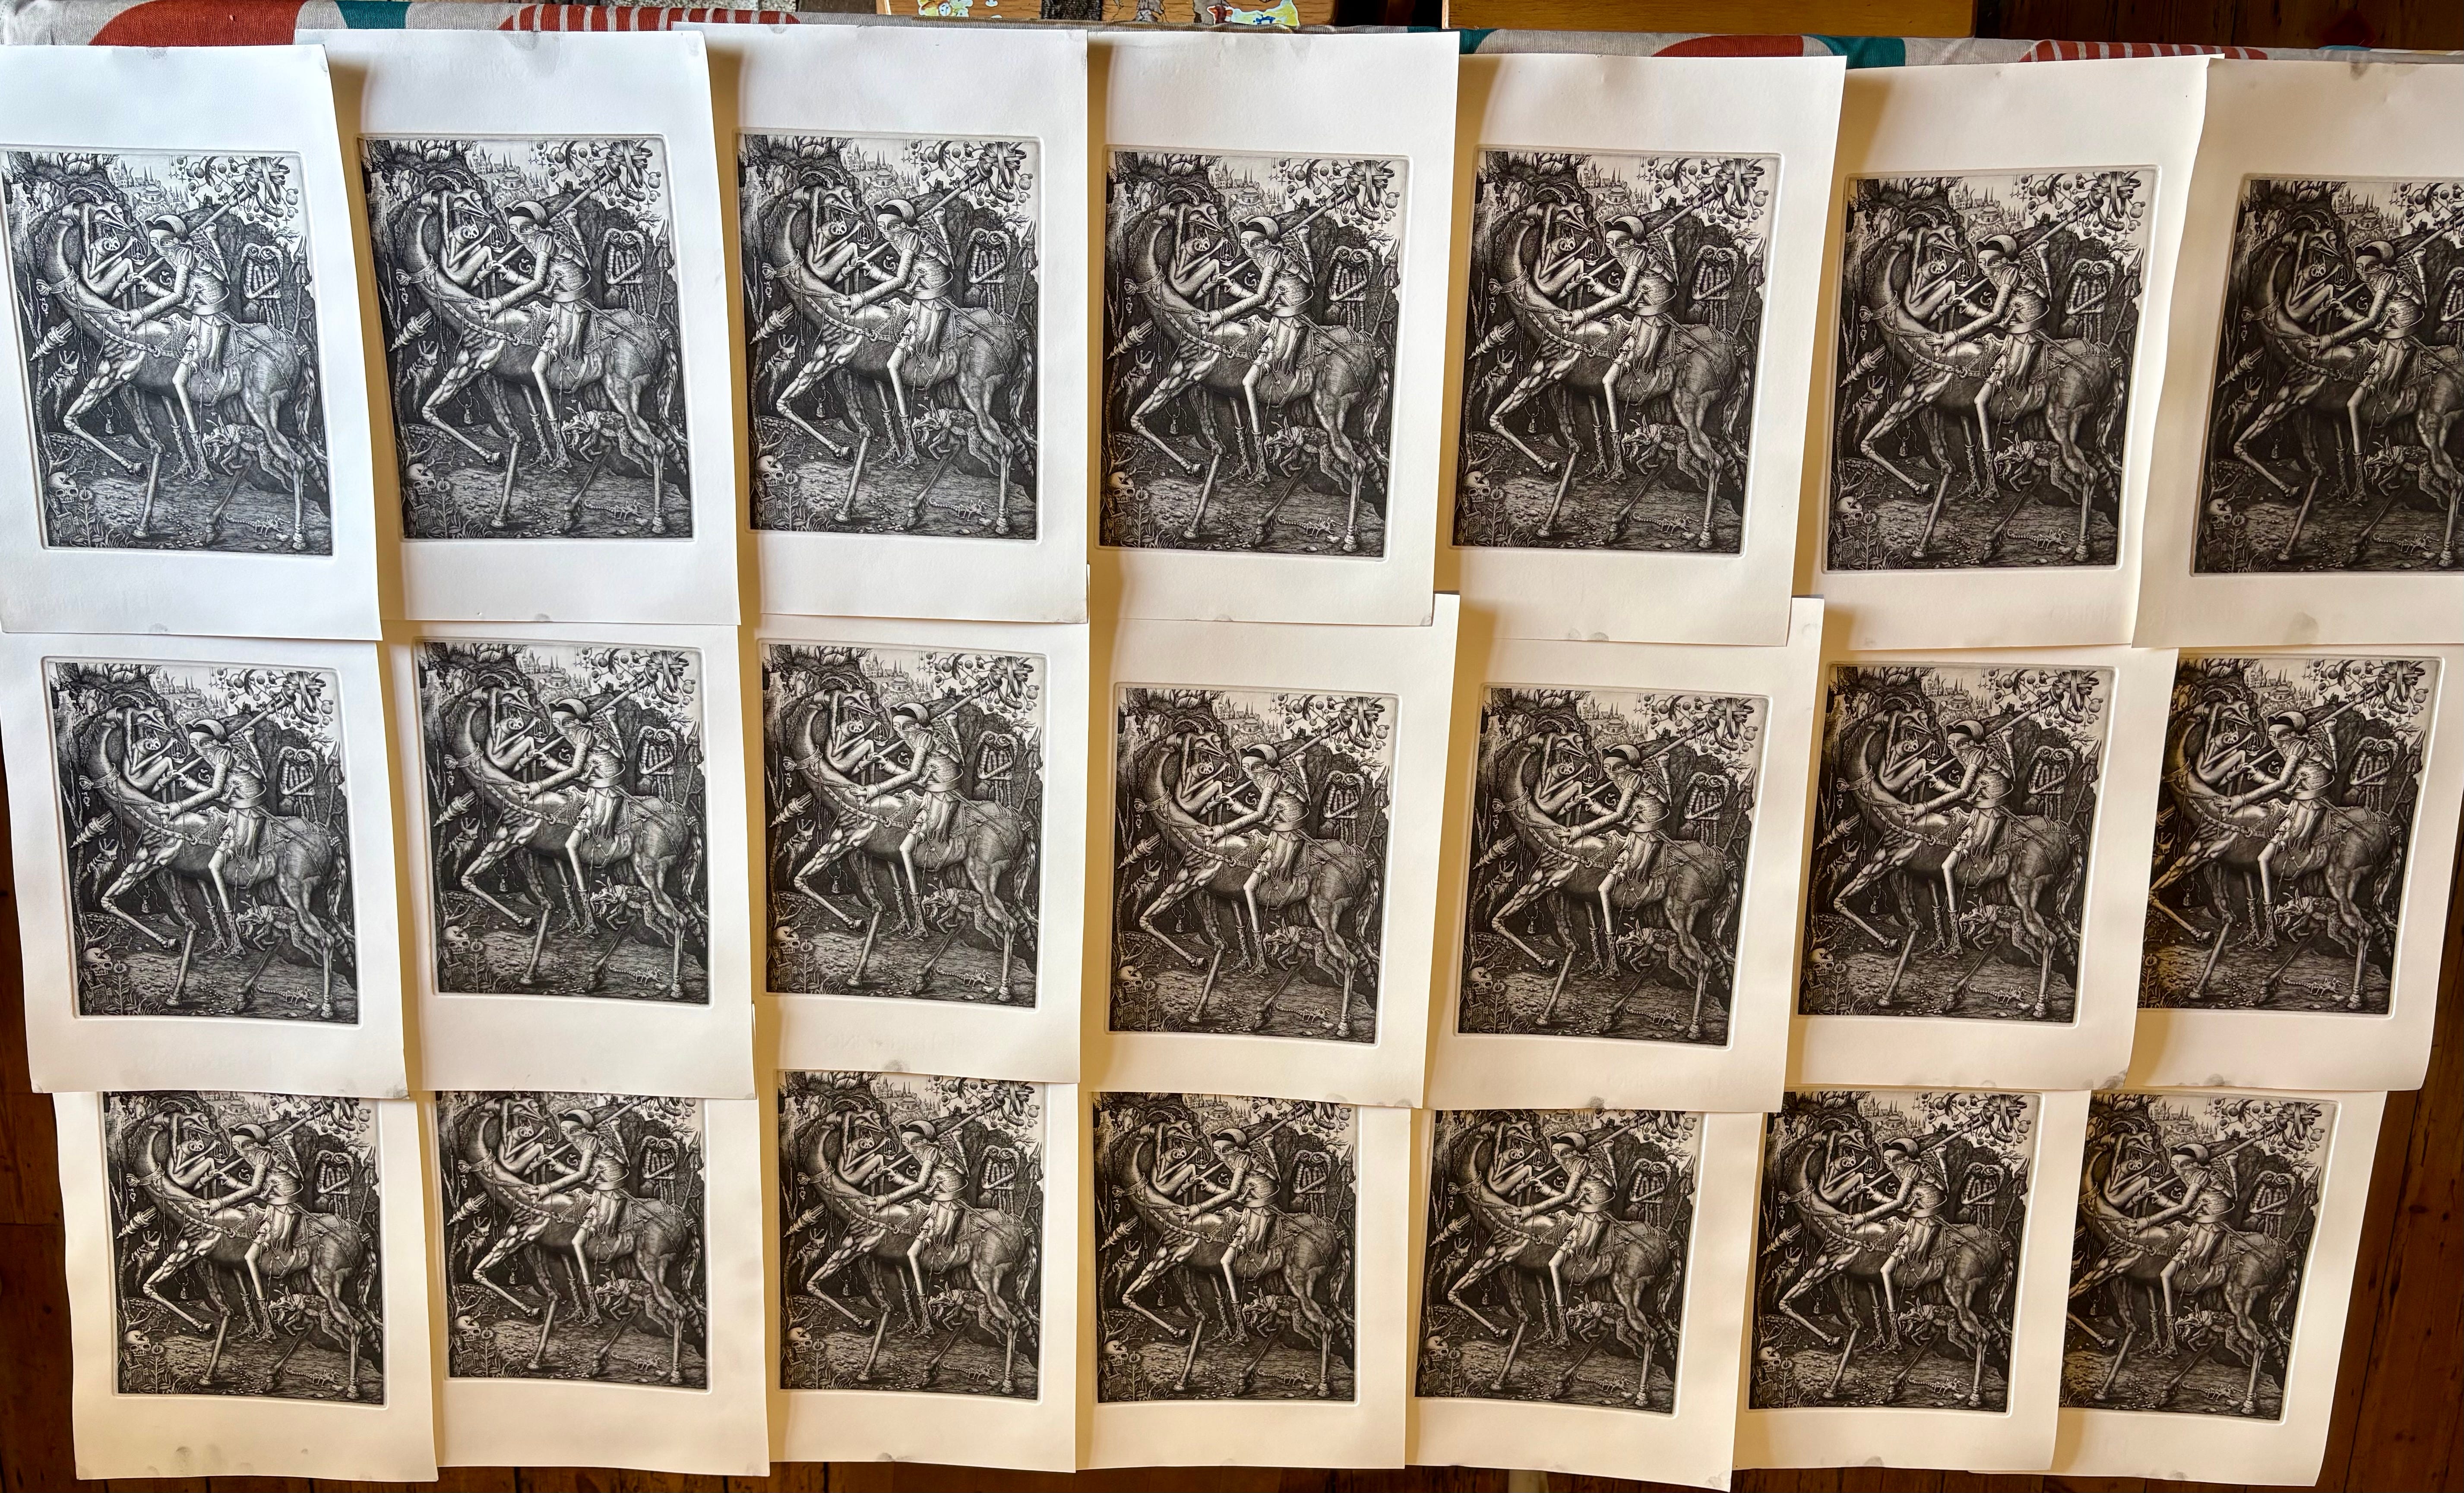
Here’s my prints on the first dry. I restack them and dry them weighted with boards to let them settle flat. I photographed these by a window so top left appear lighter in the photo. Once dry i’ll be cutting the prints back so there’s a 2cm border around the plate emboss.
Dedication to the core no wonder your work is so amazing. Will wait patiently as it will be awesome.
Another amazing piece! Love the detailed description of the process.